

Dynamics 365 Finance and Operations has functionality to create individual contact records that can be associated to a vendor or a customer record. These contact records can be used to store specific contact information for people who you or your team interact with frequently when dealing with customers or vendors.
Contacts are generally confused with contact information entered on the customer or vendor record because it is inconveniently named the same thing. However, the distinction I typically explain to my clients is that the contact information section on the customer and vendor master form is generic contact information for that organization and is not specific to any individual that works for the organization.
In contrast the contact record that is created and associated with a vendor or customer record is specific to an individual that is associated with the customer or vendor organization. If this is not quite making sense, keep reading. I will walk through a full example of how to create and fill out a contact record for a customer or a vendor.
Create a Contact Record
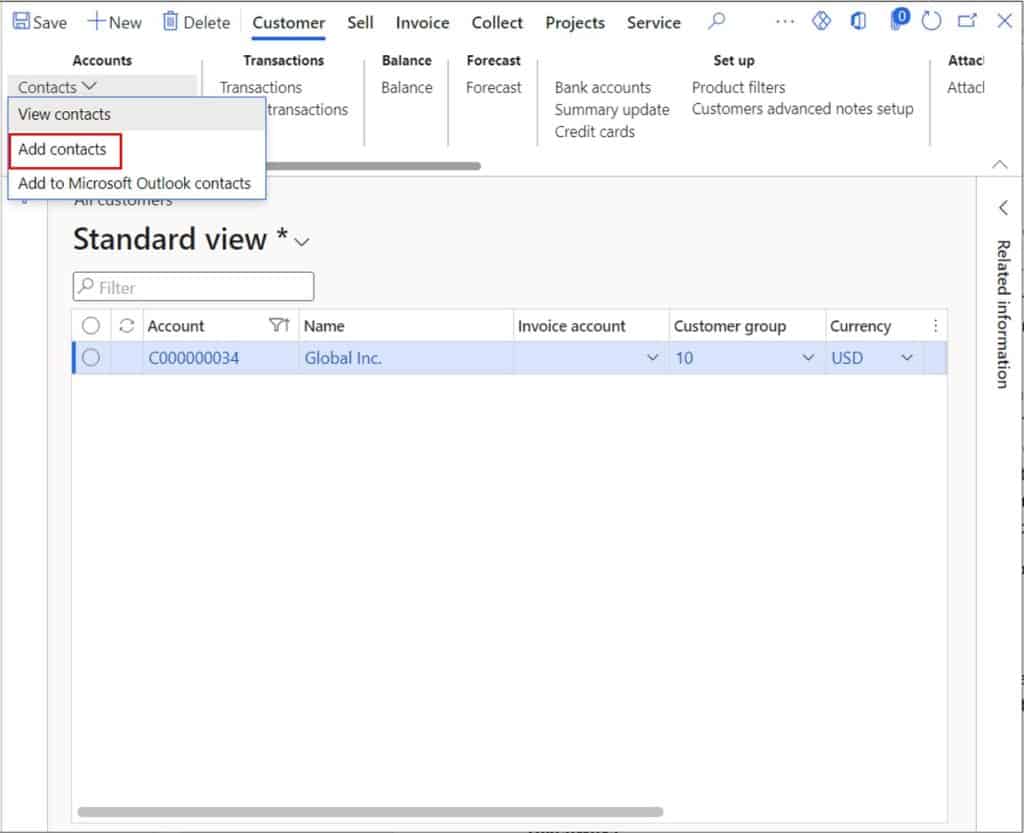
To create a contact record associated to a customer navigate to Sales and marketing > Customers > All customers. Select the customer account you want to create the contact for and click the “Add contacts” button in the “Customer” tab in the ribbon.
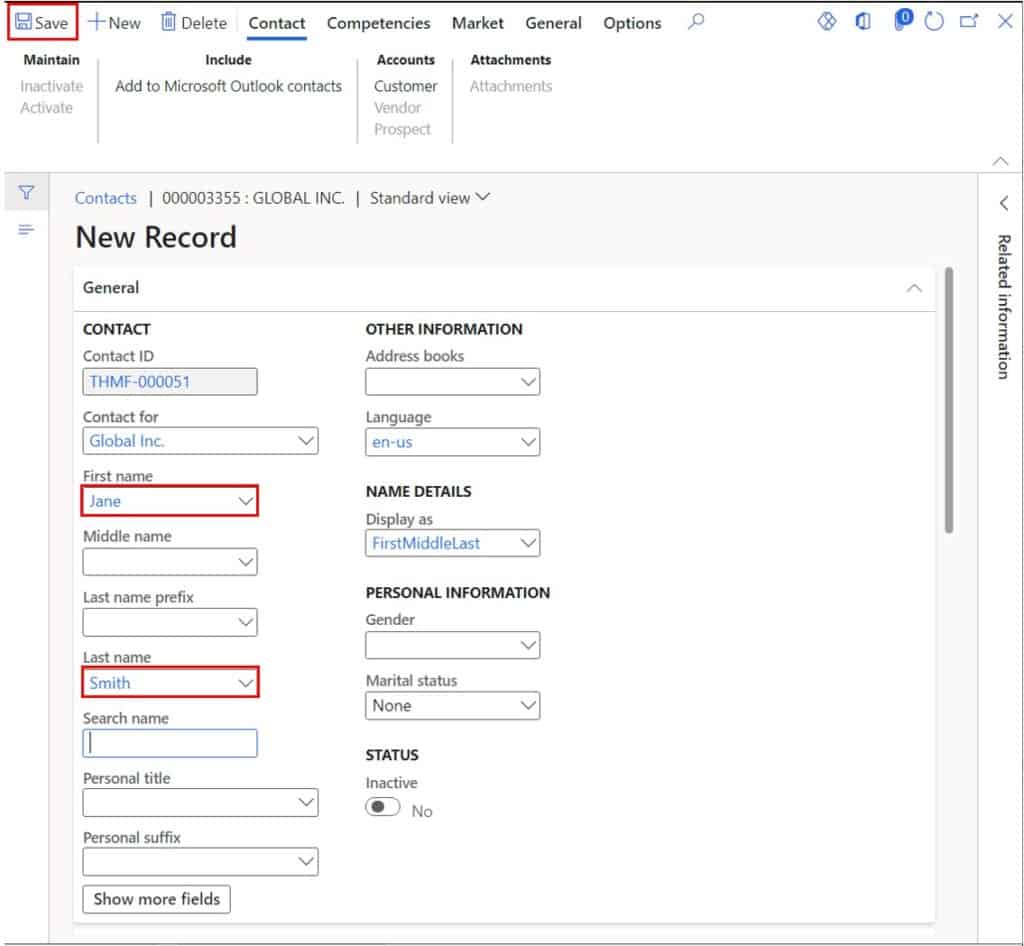
Next fill in the “First name” and “Last name” of the contact. These are the only required fields but any of the other fields can be filled in optionally. Next click the “Save” button. This will save the record and also default the primary address of the associated customer to the contact record.
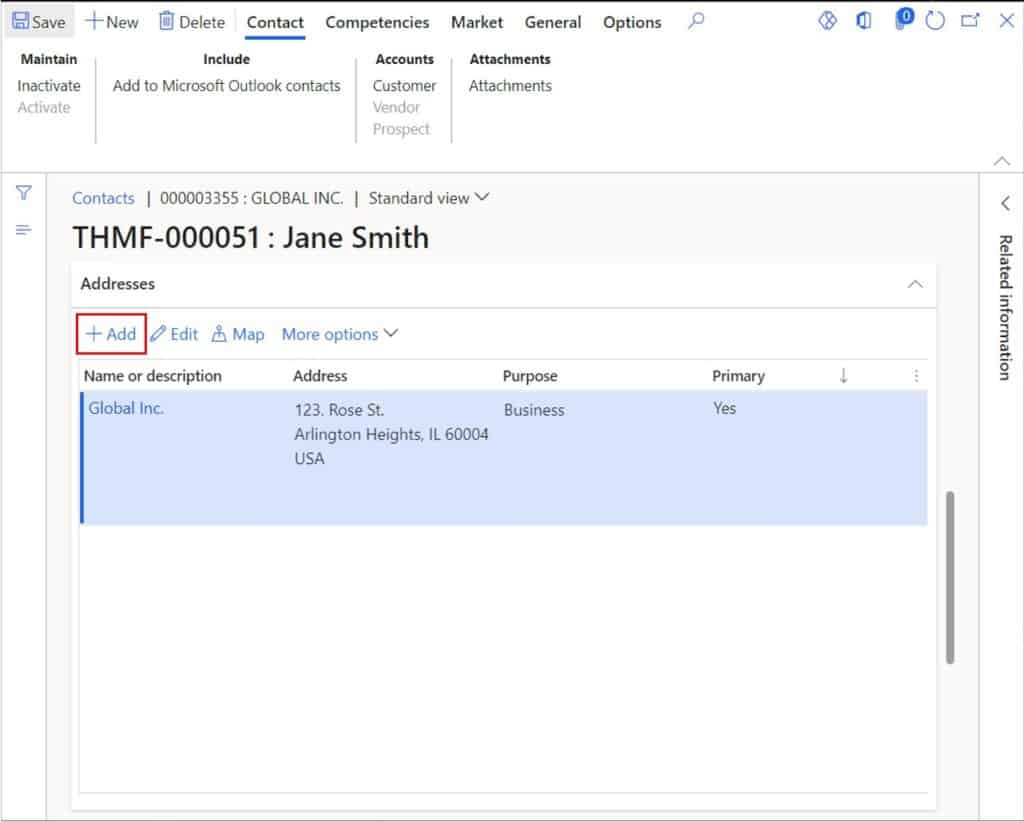
In the “Address” fast tab you can enter any other addresses that might be associated to this contact record. For example, maybe this person physically works at another corporate location that you would like to capture here. You can add an additional address record by clicking the “Add” button and populating the relevant address detail.
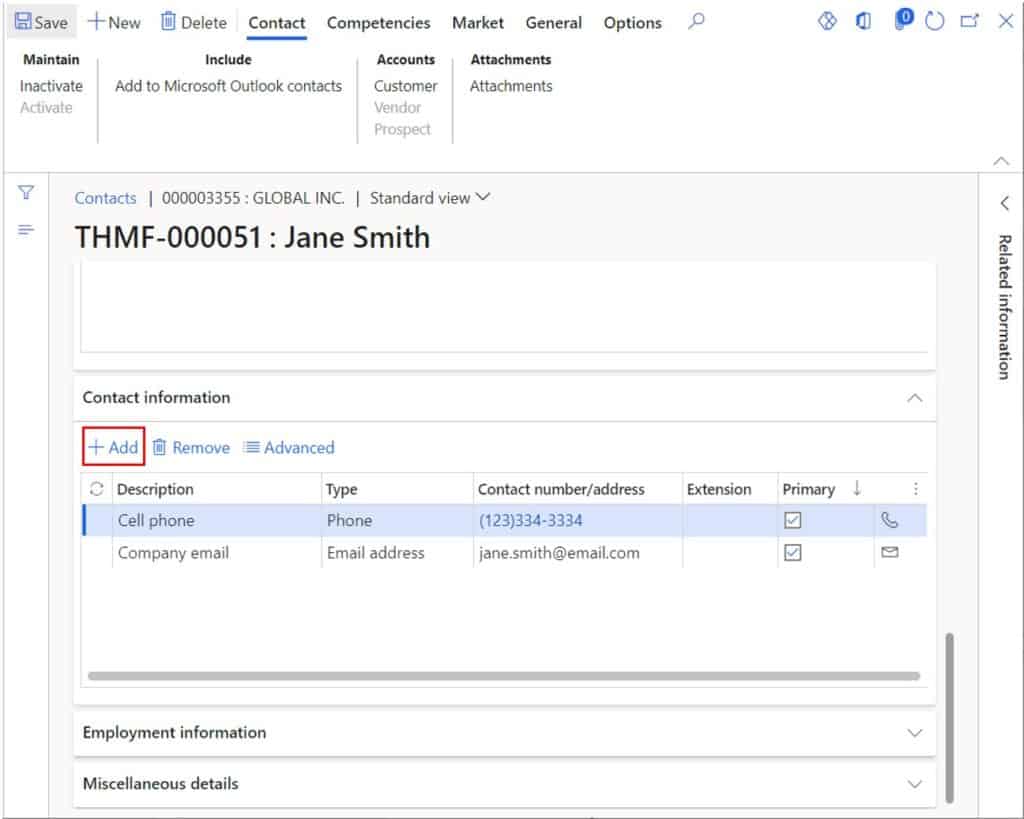
In the “Contact information” fast tab you can enter contact information specific to this particular person. So, for example I might enter this contact’s cell phone number and business email. I can do this by clicking the “Add” button and entering the data as shown below.
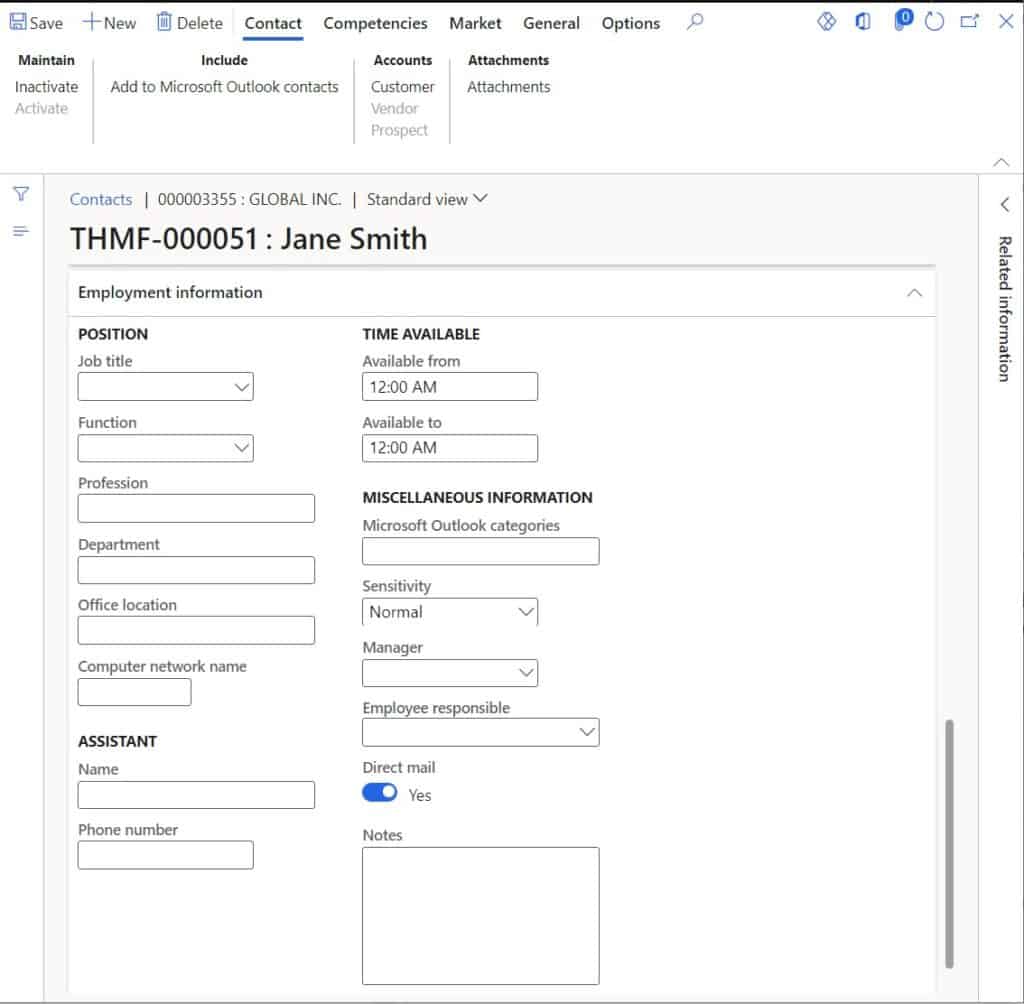
In the “Employment information” tab you can enter any employment related to the person’s position in the organization. This information can be important for identifying the decision making ability of the contact and which department the person identified with.
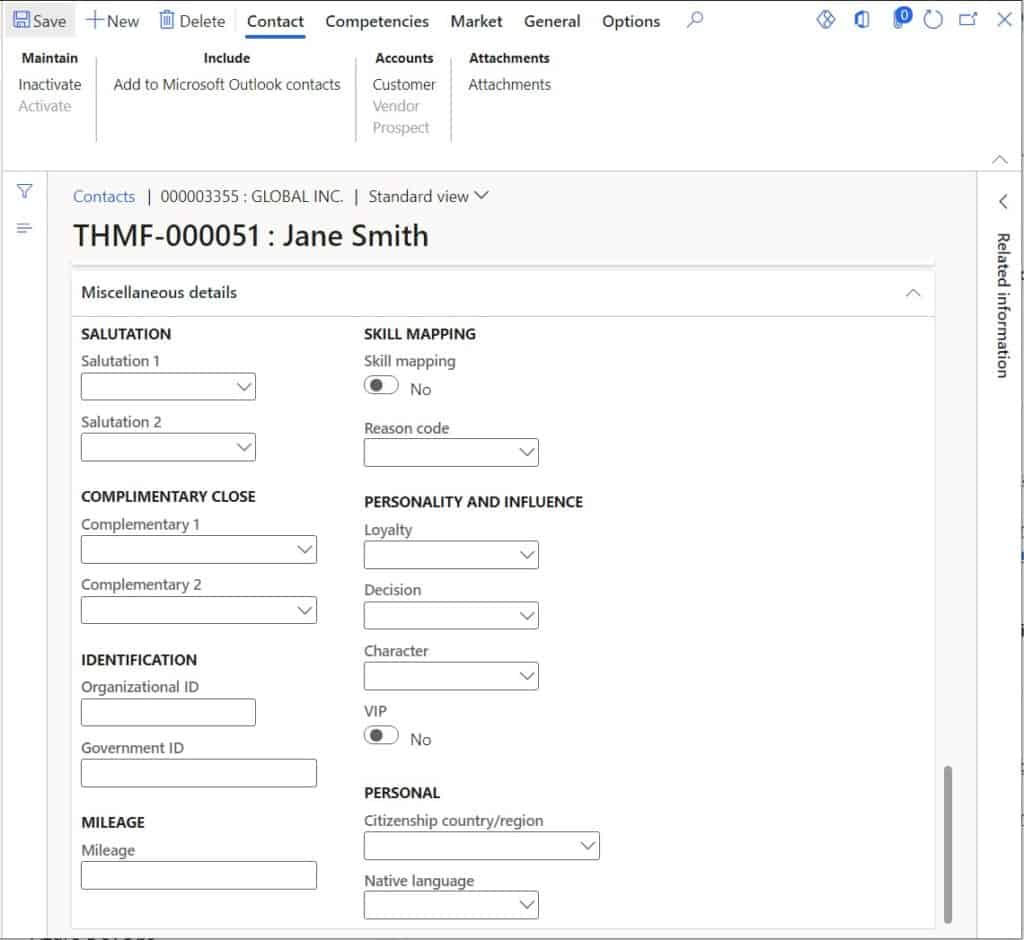
In the “Miscellaneous details” fast tab you can enter any other relevant details that may help you in your interactions with this particular contact. These are all optional fields purely for information.
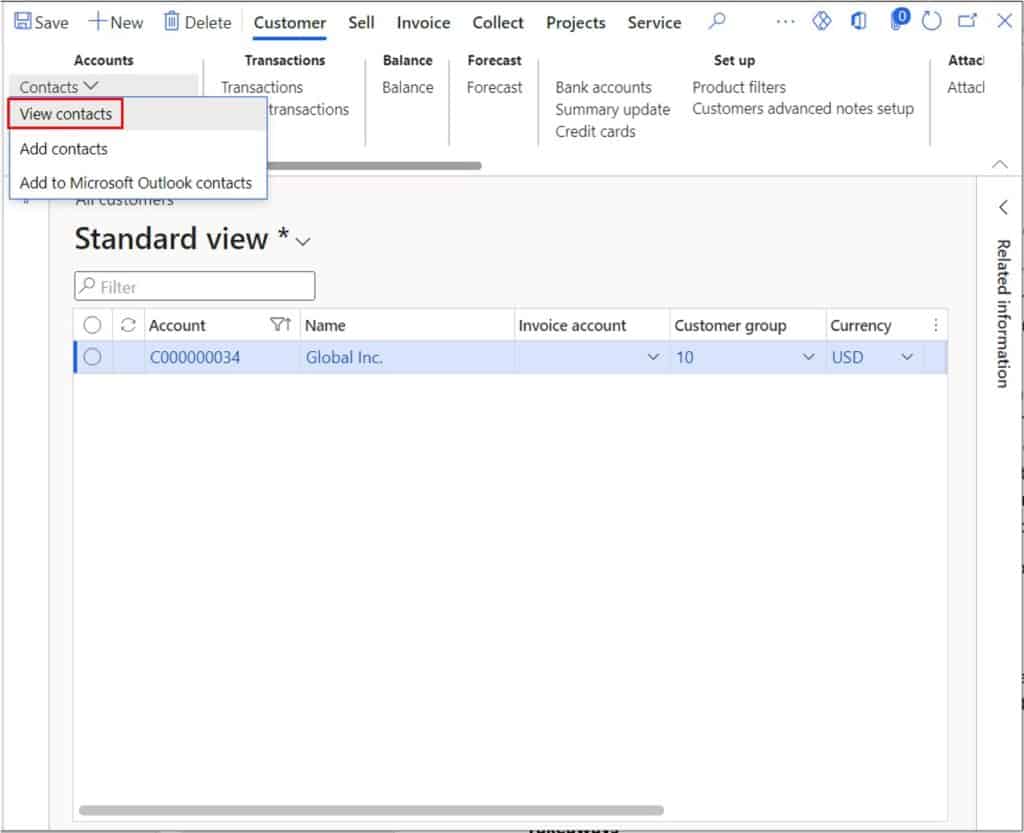
Once you have filled in all the pertinent information click the blue “X” in the top right corner to close the form. Now you can view the contact you just created by clicking “Contacts” dropdown with the customer account selected and click the “View contacts” option.
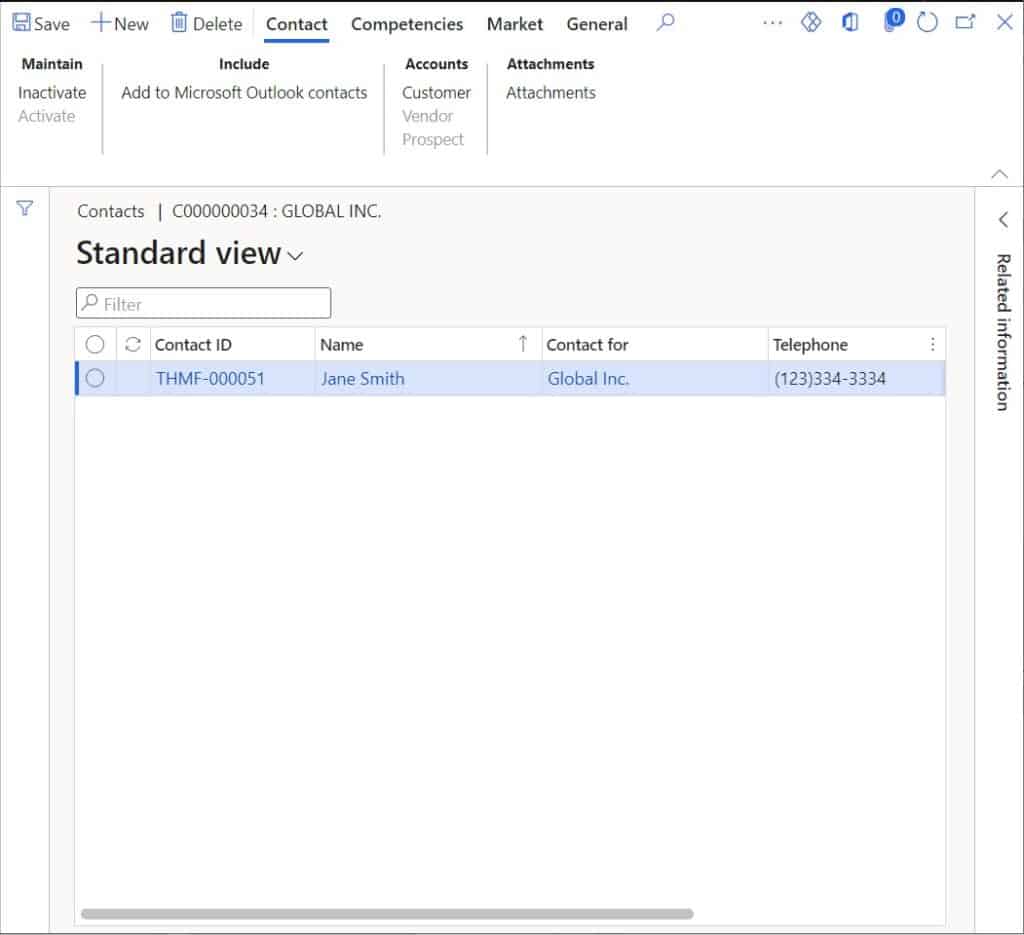
Here you can see the full list of contacts associated to the customer record. This same process described in this post can be done on a vendor record if you need to create a contact against a vendor record.
Difference Between Contact Information and Contacts
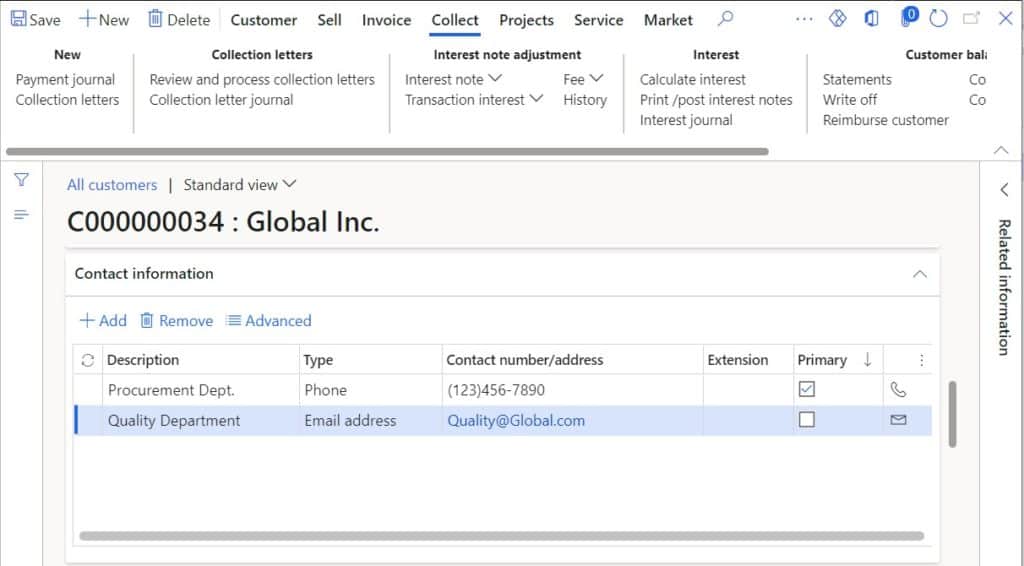
In the section above we went through how to create a contact record associated to a customer or vendor. This is often confused with a fast tab called “Contact information” on the customer or vendor record. As you can see the contact information fast tab is used for general organizational contact information things like a department phone number or email.
How to Load Contact Records
Loading contact records is not as straight forward as it probably should be. The way contact records are linked to either a customer or vendor is through the PARTYNUMBER field. This field is a system generated identification number that is related to the global address book data structure in Dynamics 365 Finance and Operations. So in order to load contacts you first need to load your customers or vendors and then extract the customer or vendors using an export data job. Then you need to link the contact record to the customer using the PARTYNUMBER in that file with the PARTYNUMBER field in the Contacts V2 data entity. Once you have the PARTYNUMBER set in your data you are ready to load your contacts.
Takeaways
Customer and vendor contacts can be very helpful information when working with people outside your organization. On many implementations there have been confusion between contact records and contact information, but I hope this post will help to clear that up.