

As a system administrator you have the important duty of managing user access and security. In D365 F&O the import users functionality allows System Administrators to import the users from Microsoft azure active directory to D365 F&O.
In this article, we will learn how to import and setup users in Dynamics 365 Finance and Operations. In addition to importing users we will look at assigning security roles as well as associating the user to an employee record which is required for many tasks in D365 F&O.
Import Users
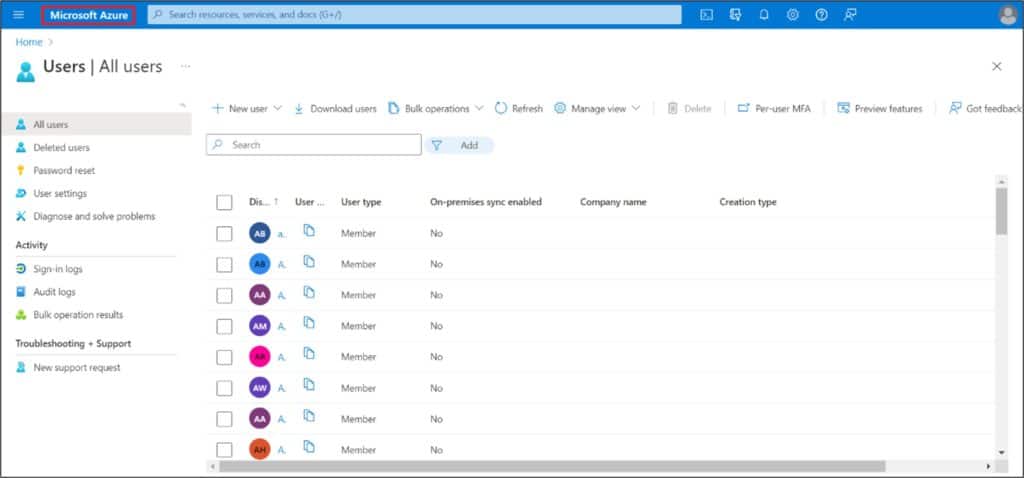
The process starts in azure active directory. Below is a screenshot of the users list page on Microsoft azure active directory.
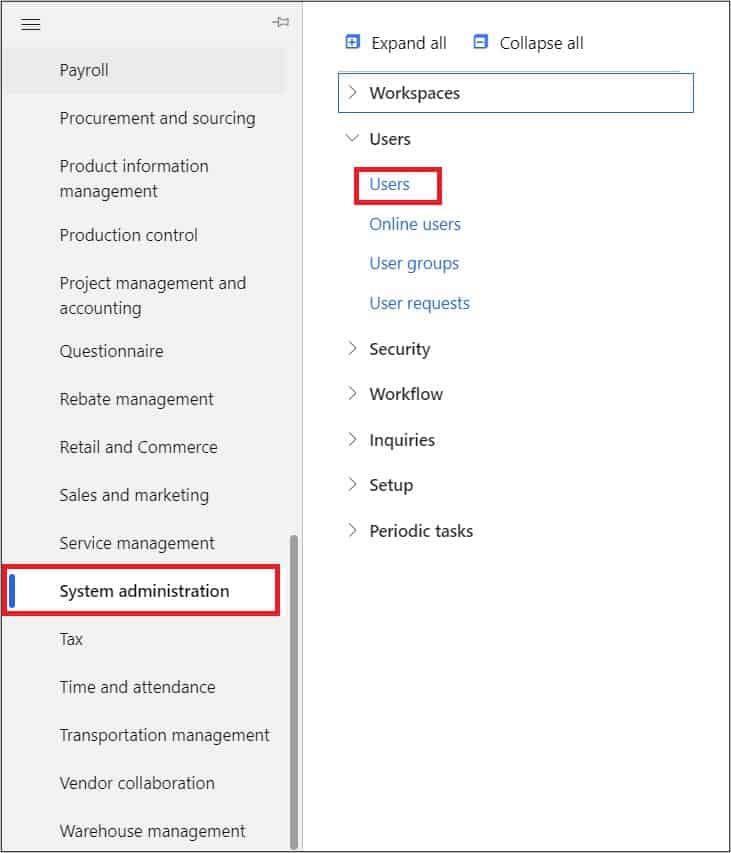
Once you’ve verified the user has been set up in AAD we can move into D365 and see how the user import works. To import users navigate to System administration > Users > Users.
On the Users page, there are two options to import the users, “Import users” and “Batch import”. The import users option allows you to import the selected users. The batch import option imports all the users in bulk.
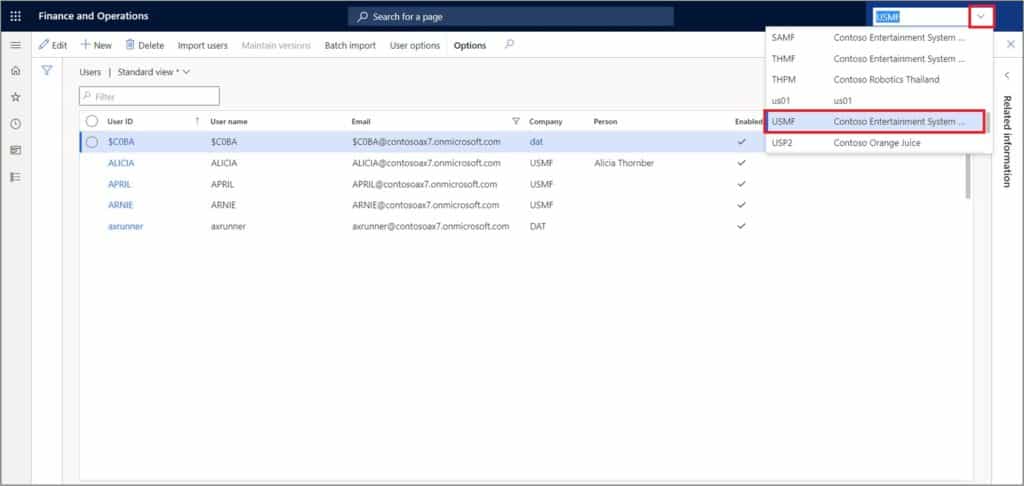
Let’s look at the “Import users” option first. Click on the legal entity dropdown button to select the legal entity in which you want to import the users. The selected legal entity will be assigned to the imported users by default.
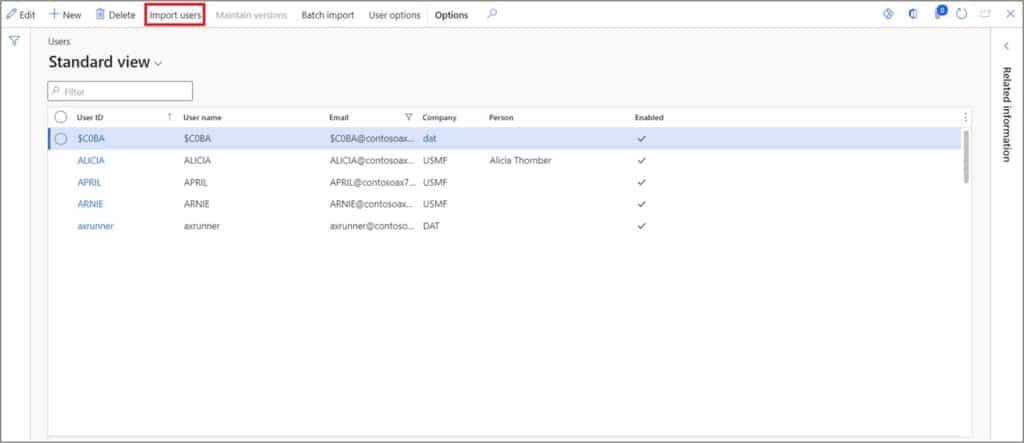
On the Users list page, click on the “Import users” button.
On the Import users page, all the users that are not yet imported will be shown. Select the user(s) you want to import and click the “Import users” button.

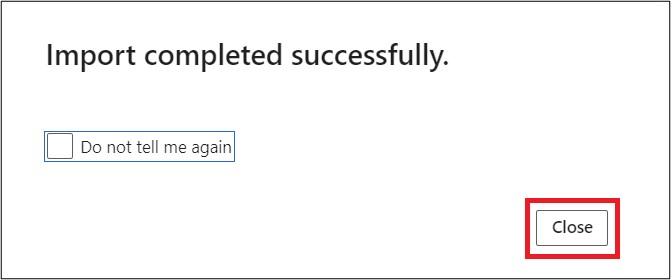
After clicking on Import users button, you will see a success message. Select “Do not tell me again” if you do not wish to see this message when you import users next time and click close button.
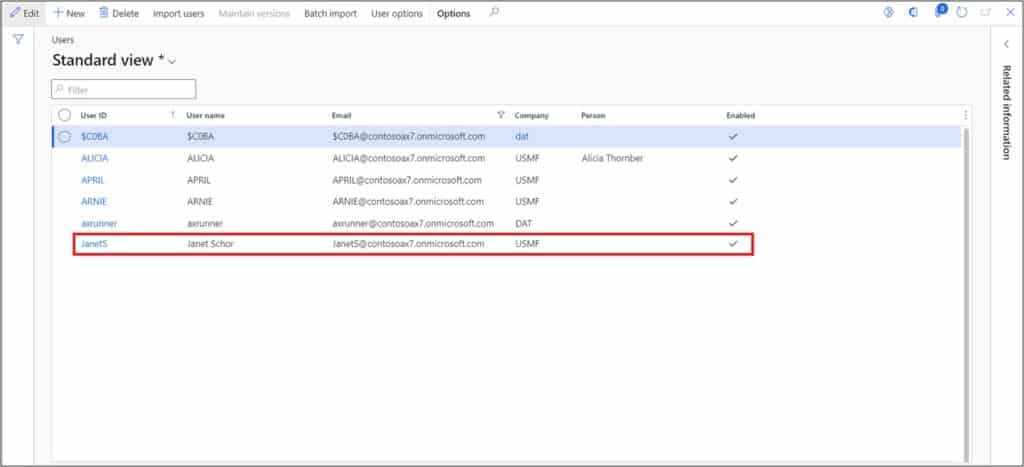
The selected user has now been imported into D365 F&O and the USMF legal entity is assigned to it from the current user session by default. If you want to change the legal entity, click “Edit” button and select the required legal entity in the “Company” dropdown.
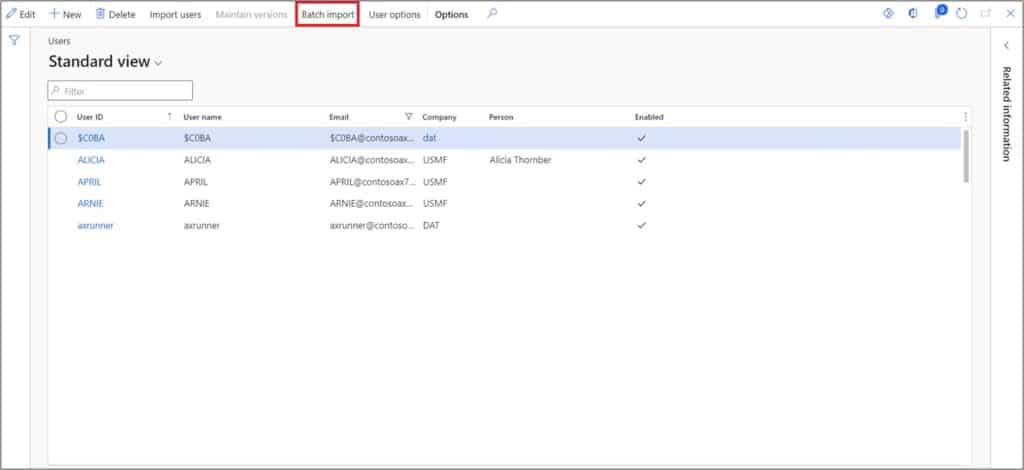
Batch Import
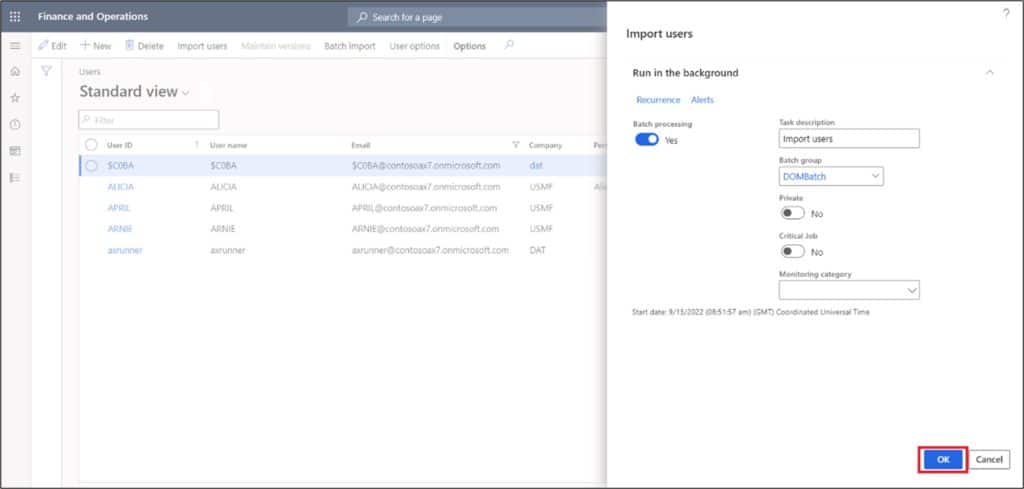
There is another option to import the user called “Batch import”. On the users list page, click on the “Batch import” button to import all the users in bulk and/or as a batch job process.
On the batch import user page, select “Batch processing”, select the required batch group.
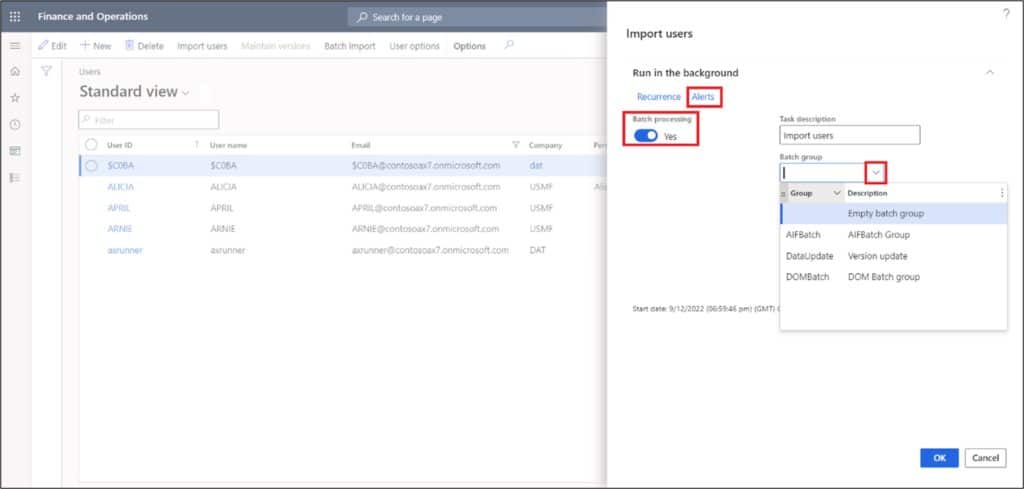
Select email if you want to receive the email on batch job completion and then click “Ok”.
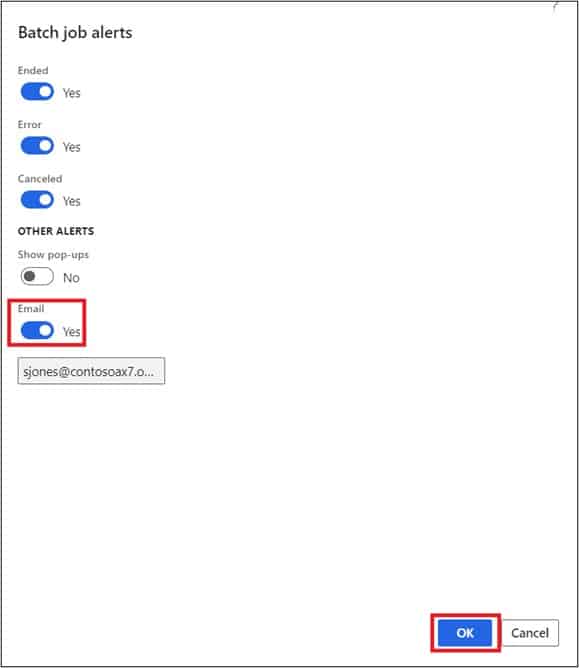
Now click “Ok” and wait for the batch job completion.
After the batch job runs refresh the form and you will see that the users are imported.
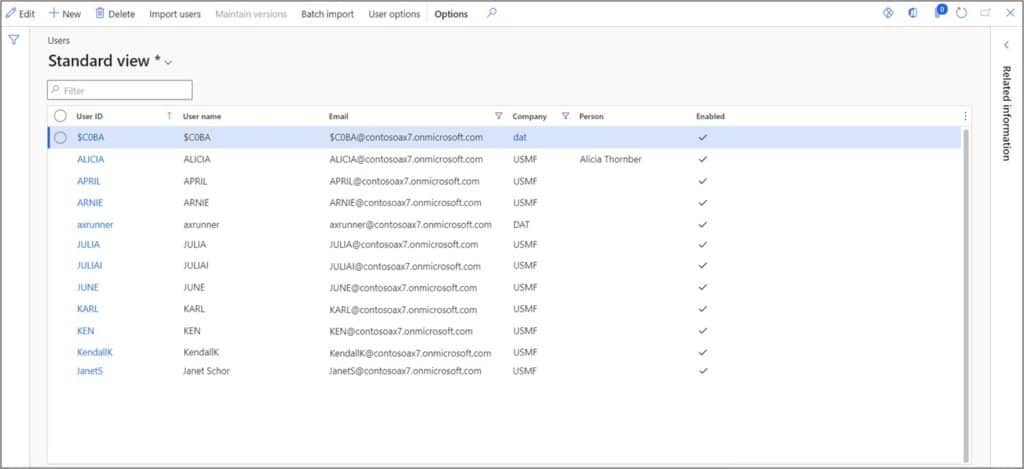
If you click on Import users button, there will be no users pending for import. Click close button to exit the import user page.
Security Role Assignment
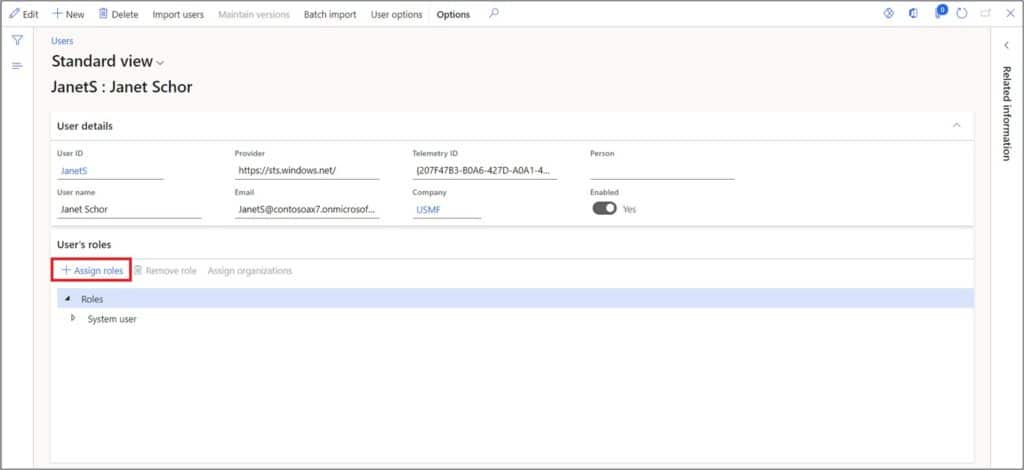
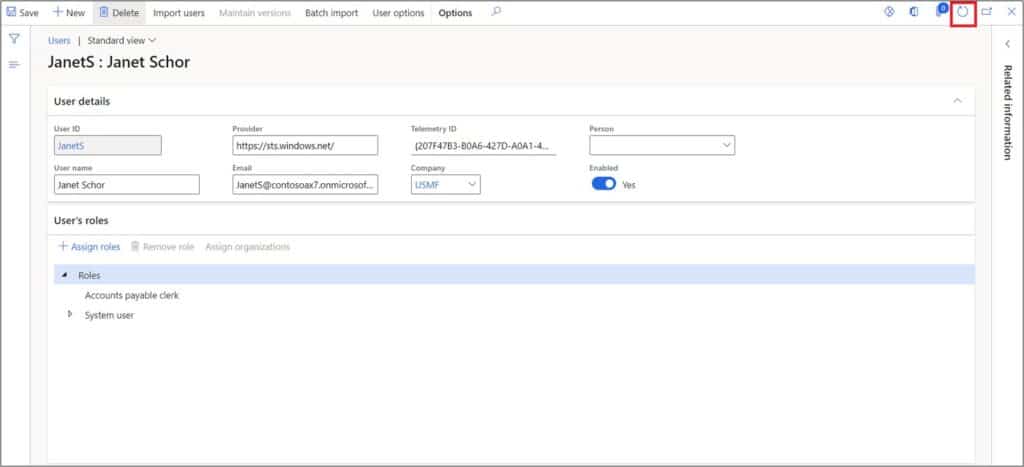
Now we can assign the required security roles to the imported users. Click on the user ID to open the user record. Click on the “Assign roles” button to assign the required security roles.
There are two options to assign the security role. You can copy roles from existing user or select the required roles individually. To copy roles from an existing user click the dropdown for the ID and select the exiting user from which you want to copy the roles.
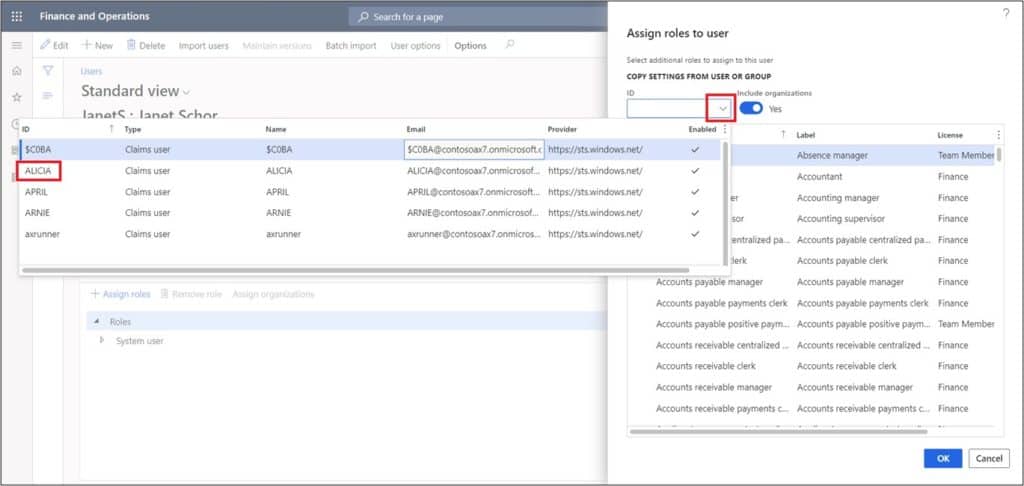
After selecting the existing user, all the roles assigned to the user are shown. Select all or just the required roles and click “Ok”.
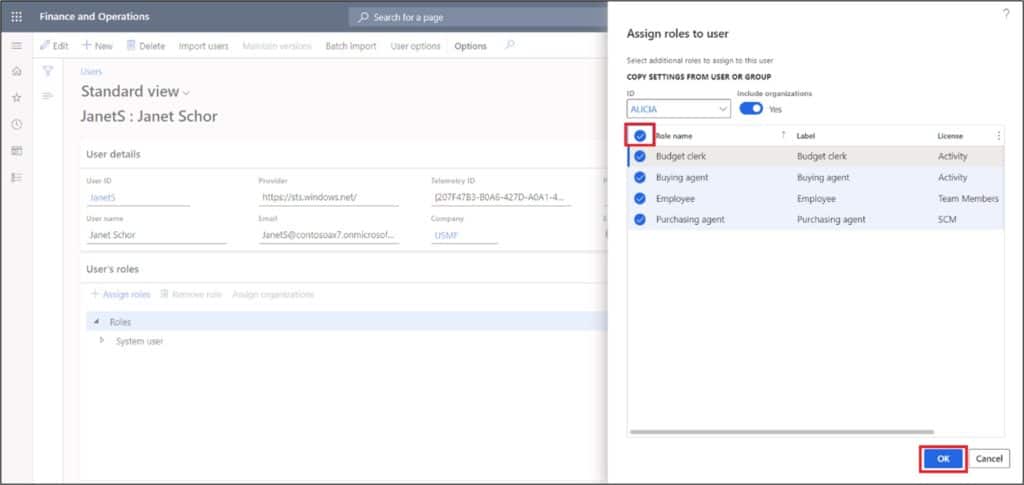
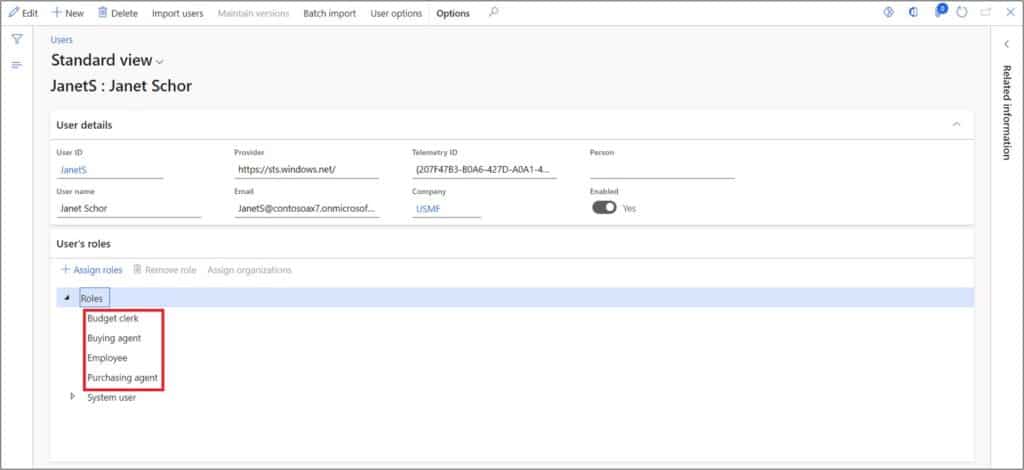
Now you will see that all the selected roles are assigned to the newly imported user.
The other option of assigning security roles is to assign the roles individually. To do that click the “Assign roles” button and select the required role from the list and click “Ok”.
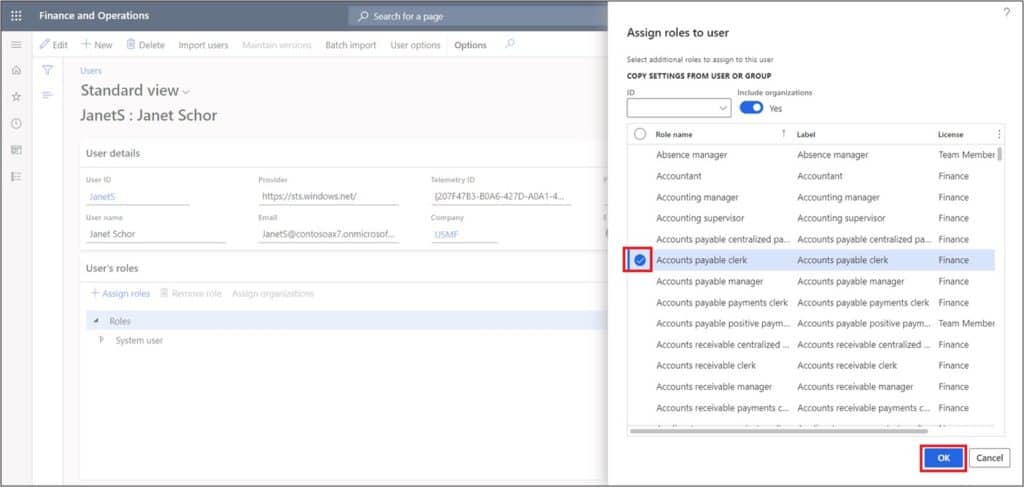
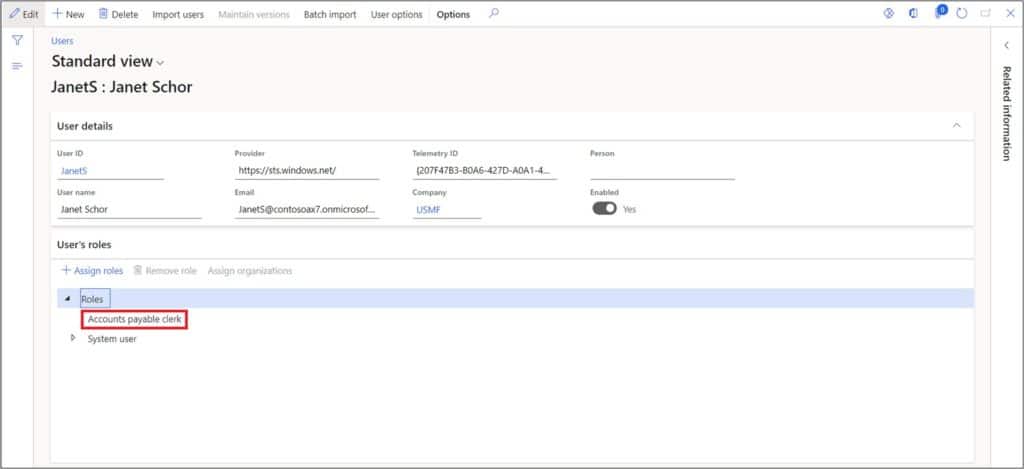
The selected role is assigned to the newly imported user.
Associate a User to an Employee
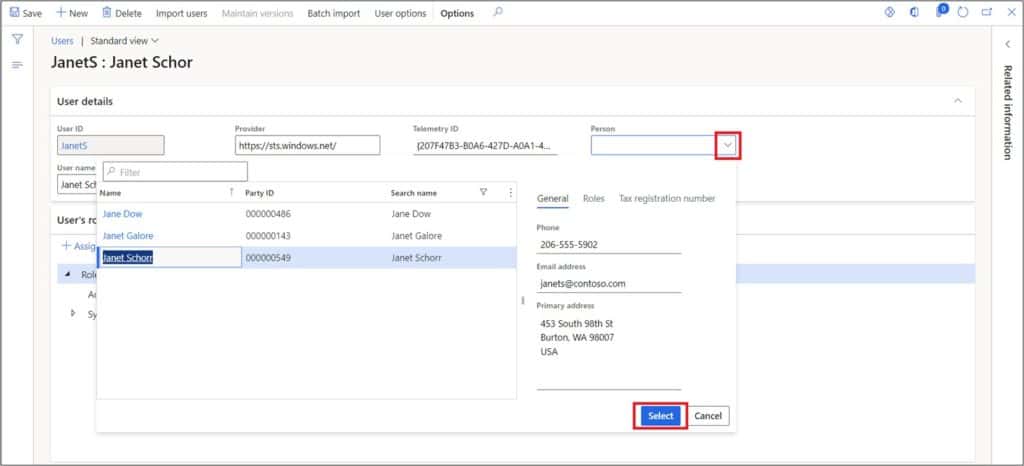
There are several processes in D365 that require a user to be associated with an employee record (e.g., approving a BOM and creating a purchase requisition). To associate a user with an employee record, click on User ID and open the user record. Click on the “Person” dropdown column. Search for the relevant Employee record, select it and click “Select” button. Then click the “Save” button.
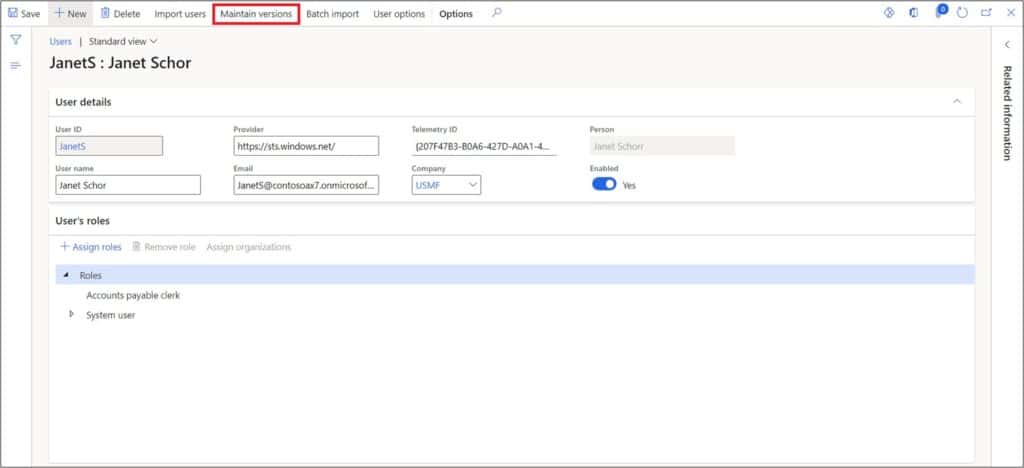
If you happen to need to remove the association from a user to an employee record click the “Maintain versions” button.
Then click the “Delete” button to remove the association of user with the employee.
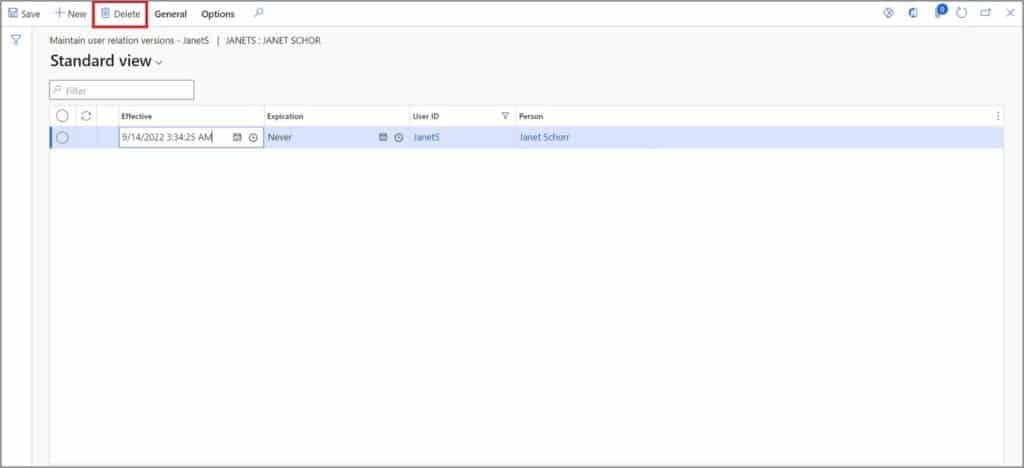
Click Close button and refresh the form. The employee association has been removed from user.
In the case that you have an employee that leaves you will need to first terminate the employee record, disable the user record by unselecting the “Enabled” slider, and then disable them in Azure Active directory.
Takeaways
Importing users is a very common task and there are several helpful features in D365 to help system administrators with this task. Importing users is not where the process stops. The newly imported user needs to have the proper security assigned and be associated with an employee record so the user can complete many common tasks in D365.