

Workspaces in Dynamics 365 for Finance and Operations are a collection of commonly used links, tiles, lists and jobs that a specific user would perform in their role in the organization. Each workspace is geared toward and optimized for common roles within the organization.
Workspaces are intended to be the single point of entry into the application and where the user will spend the majority of their time as they complete various tasks, monitor specific reports and KPIs, and manage their day to day responsibilities. In this article I’ll take you through all you need to know to take full advantage of this excellent productivity feature in Dynamics 365 Finance and Operations.
Workspace Layout
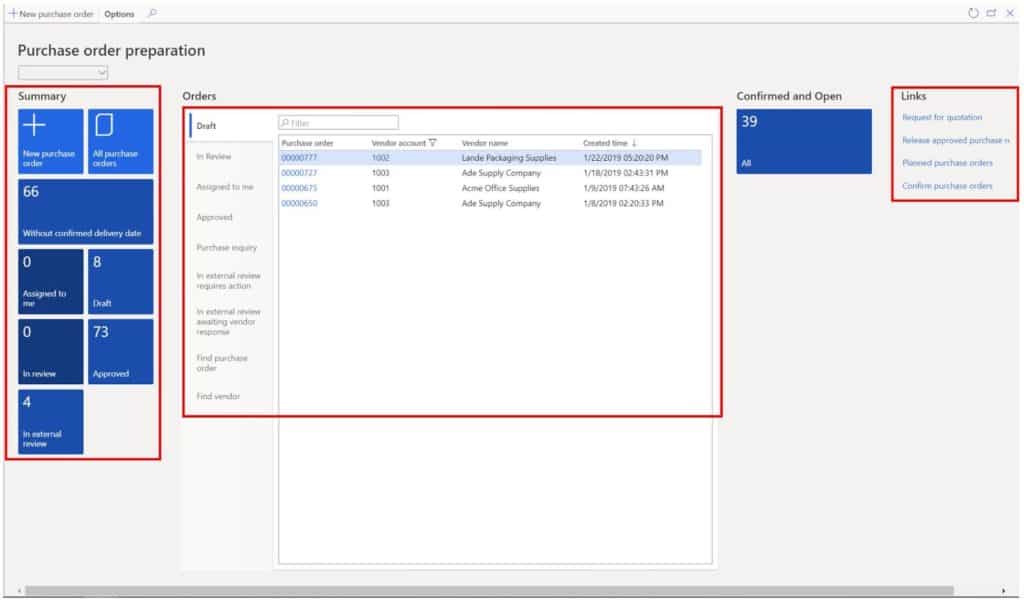
The anatomy of a layout is pretty simple. On the lest left side you will see your tiles. Tiles are simply links to forms or saved queries embedded in forms.
The cool thing about a tile is that you can put a counter on it so it will count the number of records underlying the query you have saved. This helps you keep track of specific things and can be used as a measure of how much work you have left in a given day.
If your job is to make sure all approved purchase orders are confirmed, you could use a tile with a count to help you keep track of how many you have left.
In the middle of the workspaces are usually a list. This gives you direct access to data right from the workspace, eliminating the need to navigate to another form. You can open and edit records just like you would if you were doing it from a list page.
On the right side of the workspace you will typically find several sets of links organized in logical groupings. These links are places where a user is this role would navigate to frequently.
In some workspaces there are also actions that can be performed directly from the workspace. In the case of the purchase order preparation workspace you can create a new purchase order from the workspace without having to navigate to the purchase order list page and click the “New” button.
Customize Workspace
One of the very cools things about workspaces is that they are customizable in several ways. If you don’t like the Microsoft workspaces that ship with the product you can customize theirs or create brand new one.
Personalize
If you find a workspace you like but you just want to move some things around or change some of the names you can totally do that.
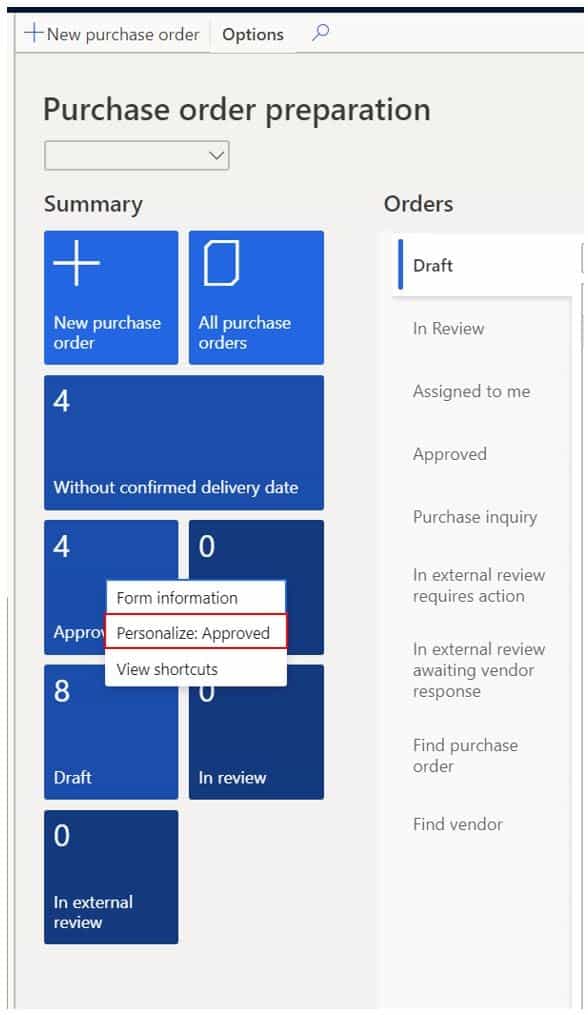
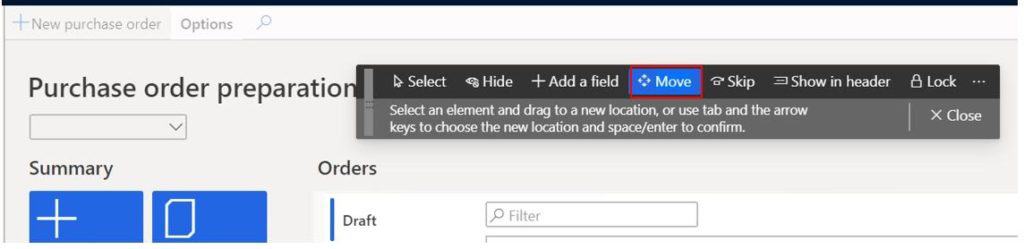
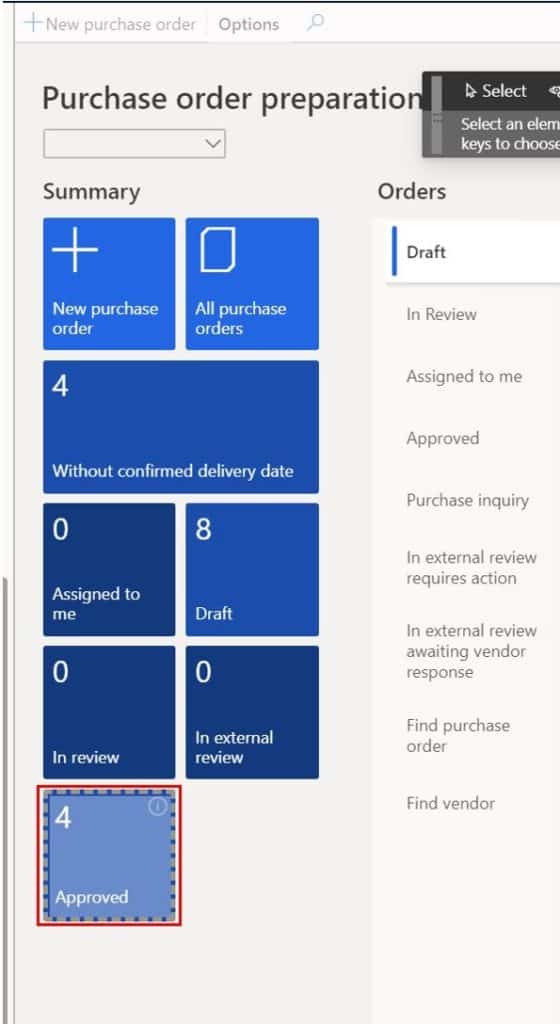
For instance If I want to move the “Approved tile to the bottom, I can right click and click “Personalize” then I can click “Personalize” again to bring up the personalization tool bar.
Click the “Move” button and then I can click on the tile I want to move and drag and drop it to the end of the list.
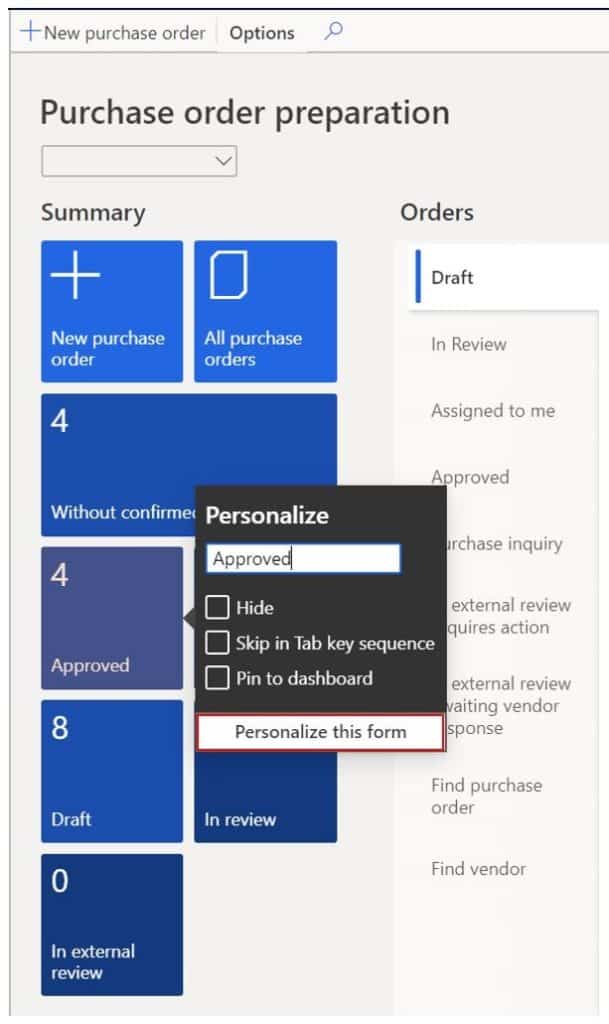
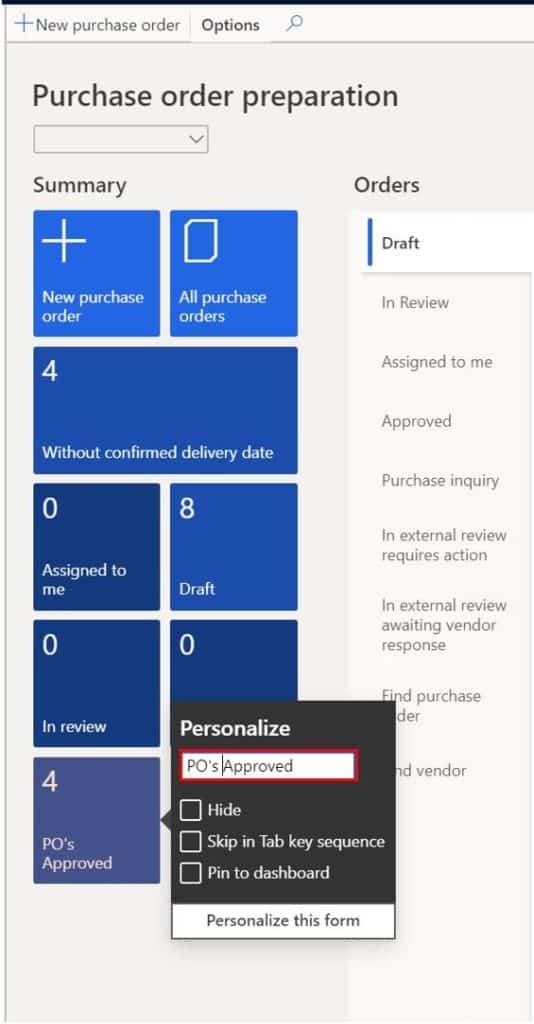
Now that I’ve moved the tile, I want to change the name to “PO’s Approved” instead of just “Approved” I can do that too by right clicking, clicking “Personalize” and then typing my name in the element name field.
Create A New Link
Another way to customize a workspace is to add links that you use that may be missing from the standard workspace.
For this example let’s say I am in my “Purchase order preparation” workspace and I want to have a quick link to see on-hand inventory directly from my workspace.
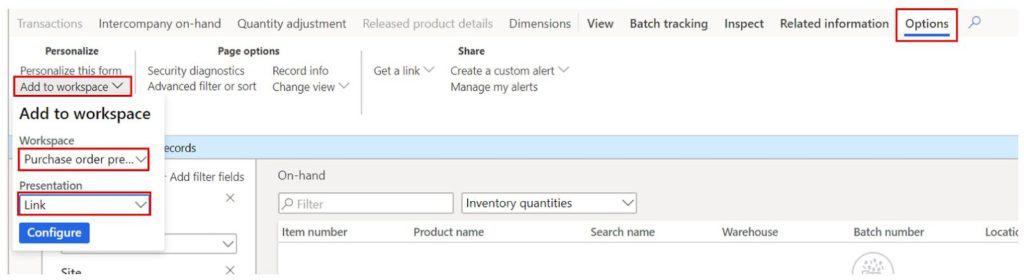
- All I have to do is to navigate to Inventory warehouse management > Inquiries and reports > On-hand list.
- In the ribbon click the “Options” button and click “Add to workspace”.
- Select your workspace and then in the and in the “Presentation” field select the “Link” option.
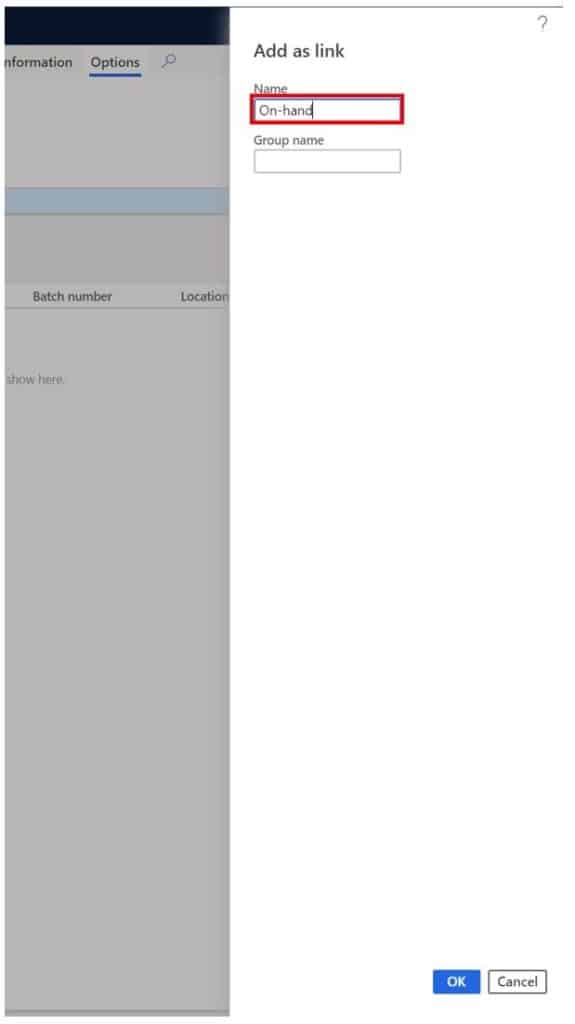
- Click “Configure”.
In the “Name” box you can give your link a descriptive name. In the “Group name” section you can designate that the link should be added to an existing link group or you can create a completely new one and call it something different.
Now if you navigate back to your workspace and scroll over to your links and you will see your new link.

Create A New Tile
Tiles are great because they can display a record count which can give you a sense of the number of records behind the inquiry, list page, or filtered list page you are navigating to.
For this reason, I prefer to use tiles when I need to keep track of a certain set of data that will require my action. What I’ll do is create a query for records I need to take action on, save the query or filter as a tile, and then the tile will show me a count of the number of records that fall into the filter underneath the tile.
- To create a tile based on an advanced filter you can navigate to a list page or an inquiry form click the “Options” tab in the ribbon and click the “Advanced filter or sort” button.

Select your filter criteria and then click “OK” to execute the filter. The data will be filtered down according to your criteria and then you can use the following steps to save the filter as a tile.

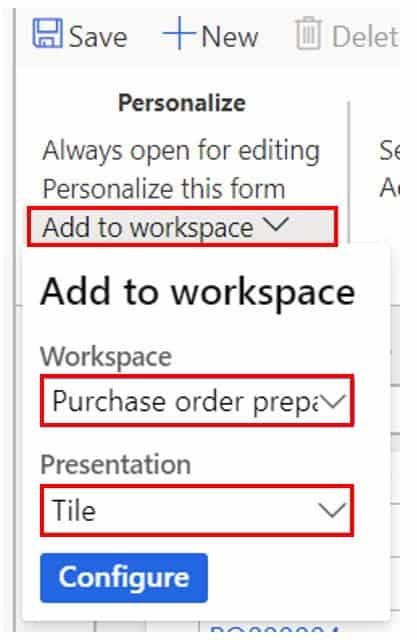
In the “Options” tab in the ribbon click “Add to workspace”, select your workspace, and instead of choosing “Link” in the “Presentation” field, select “Tile”, and click “Configure”.
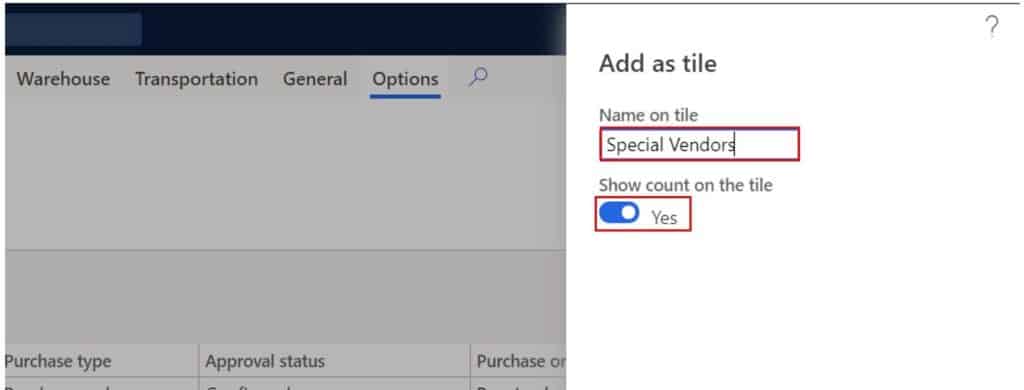
In the pane to the right give your tile a name and enable the “Count on tile” option.
Navigate back to your workspace and you will see the tile you created.
Create A New List
Adding a list to a workspace can really make a workspace a one stop shop for all your data needs. With the lists feature you can save a list page or inquiry as a list and the data will populate directly in the workspace. Unlike the list or the tile feature this lets to actually display records in the workspace. The only limitation with this is that the maximum number of fields you are able to display is eight so if you need more than that you may want to just go with a link or a tile.
- To do this navigate to the list page you would like to display as a list in the workspace.
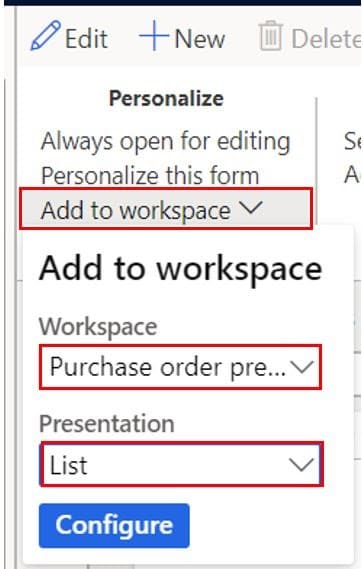
- Click the “Options” tab in the ribbon and click the “Add to workspace” button.
- Select the workspace you want to add the list to and in the “Presentation” field select “List”. Click the “Configure” button.
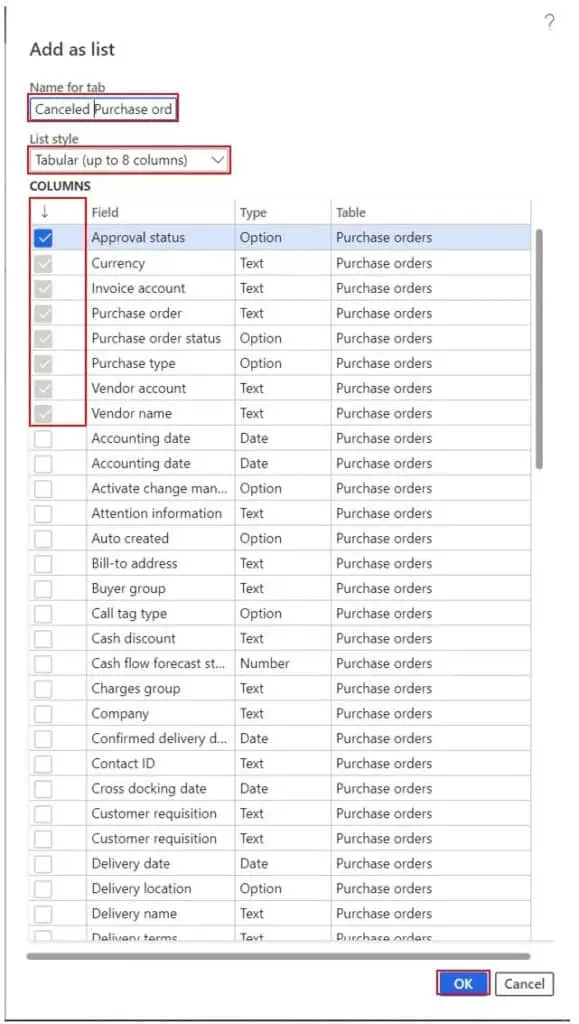
- In the pane to the right select the list style to specify how many columns should show in the list.
- Select the fields you want to show up in the list. Click “OK”.
Now navigate back to your workspace and you will see the tab added to the list section which will show the records in your list.

Create A New Workspace
If you want to completely start from scratch and create your own workspace exactly how you want it Dynamics 365 Finance and Operations offers that capability as well.
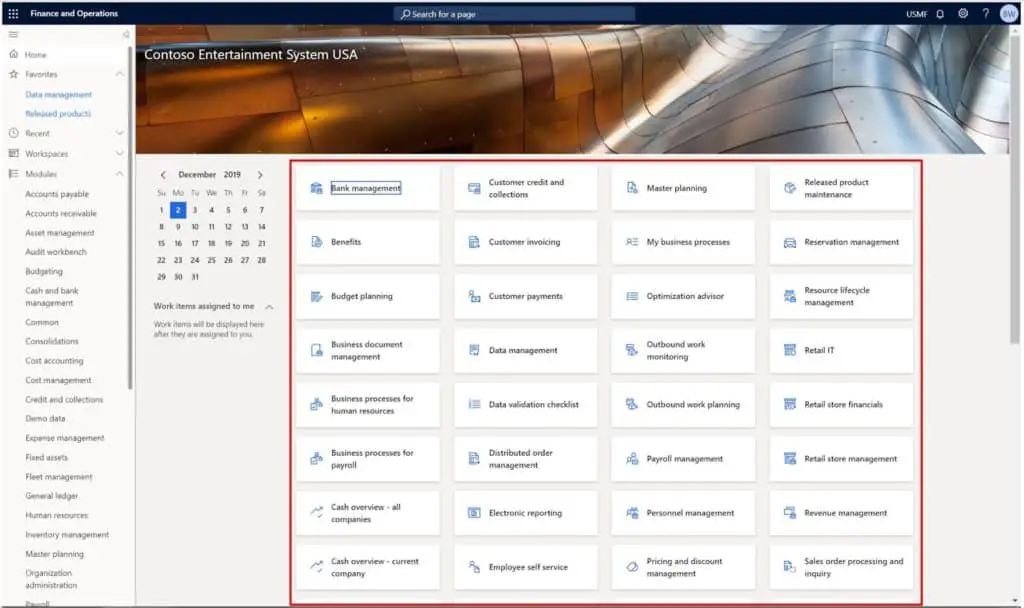
- To create a brand new workspace, navigate to the home page or landing page by clicking the home icon in the navigation pane or the “Finance and Operations” text in the left corner.
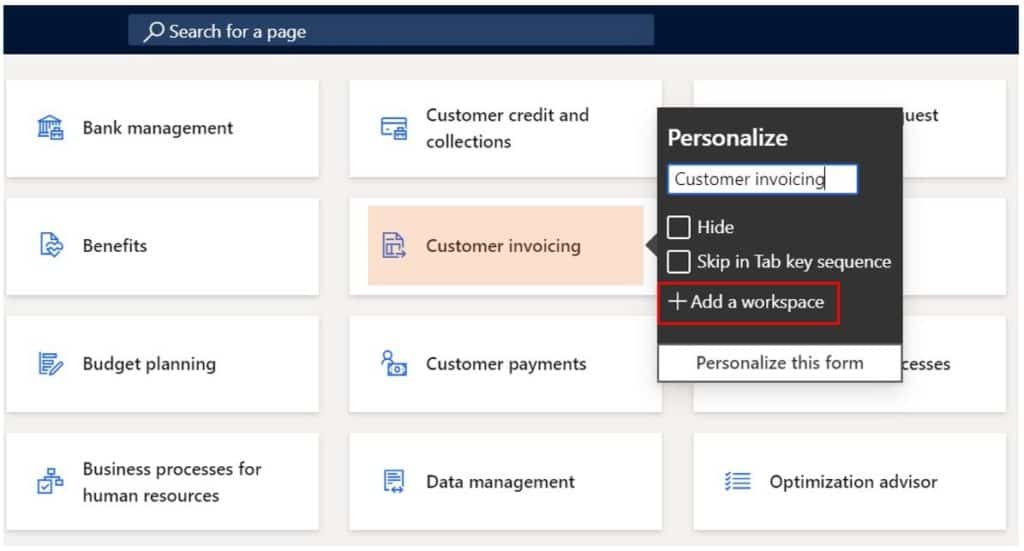
- On the landing page right click on any of the workspaces and click “Personalize”.
- Click the “Add a workspace” button.
Scroll to the bottom of the landing page and you will see a new workspace called “My workspace 1” you can then right click and click “Personalize” and name the workspace.
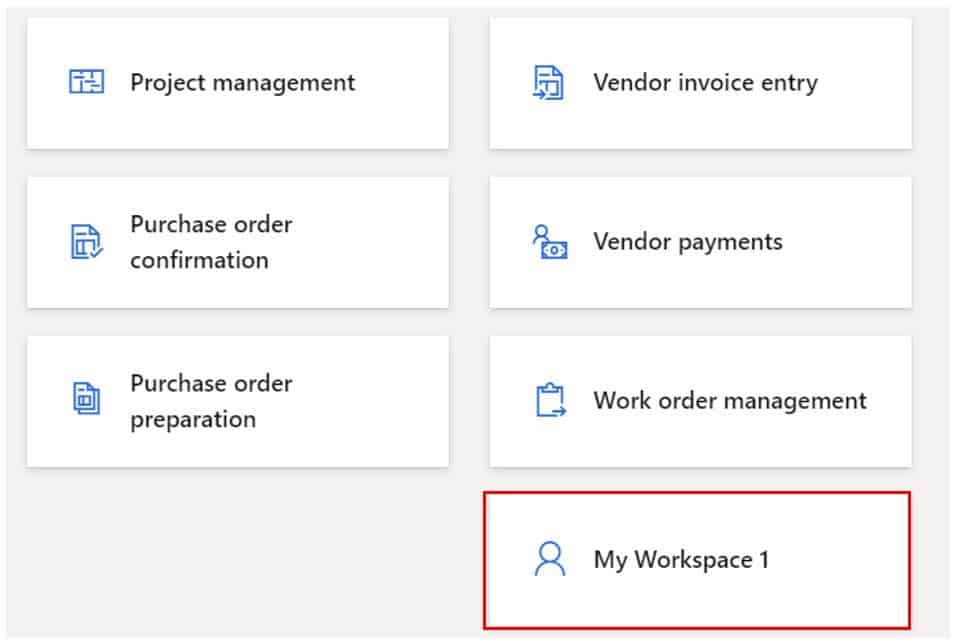
Next click the workspace and you will be taken to a blank workspace. You can now use the steps in this article to start populating the workspace with links, lists, and tiles, exactly to your liking.
Takeaways
I hope you have seen the power and flexibility available with the workspaces feature in Dynamics 365 Finance and Operations.
This is typically something that everyone “Ooohs and Ahhhs” over in demonstrations but when it’s time to actually go live workspace setup gets put on the back burner. If you can incorporate workspace setup into the design and configuration phases of the project, it can make for a much easier and more productive transition for end users.