

Dynamics 365 Finance and Operations has standard customer management functionality that allows account receivable managers or customer account managers to put customer accounts on various types of holds. These different hold types can restrict certain transactions or completely hold the account for all transactions.
There are also ways in D365 Finance and Operations that instead of putting an entire customer account on hold, you can put an individual sales order on hold. These holds can be for operational, regulatory, or for credit reasons.
In this post I will show you all the different ways you can put a customer on hold in Dynamics 365 Finance and Operations so that you can see the nuances, advantages, and disadvantages of each to help you determine which to implement for your business or client.
Put A Customer On Hold
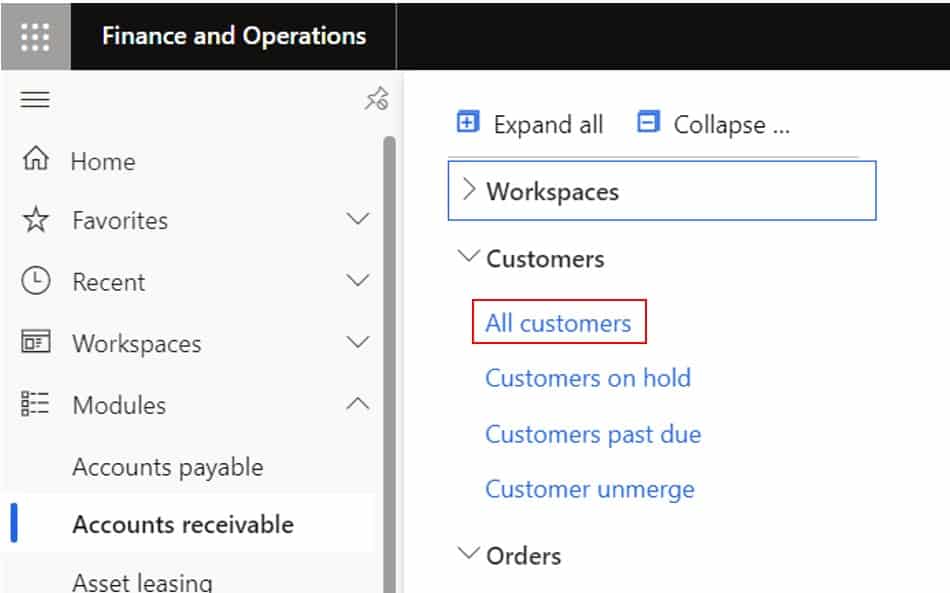
The most common way to put a customer on hold is to put the customer account on hold. To put a customer account on hold, navigate to Accounts receivable > Customers > All customers.
Open the customer account you want to put on hold by clicking the customer account number hyperlink. In the “Credit and collections” fast tab, click the dropdown for the “Invoicing and delivery on hold” field and select the type of hold required for the customer.

Although there appear to be 6 options there are really only 3 options for customers (“No”, “Invoice”, “All”). The other three are used only for vendors. The field is an enumerated value field that is also used by the vendor table and vendors use all 6 values. It’s a bit of a quirk or user experience issue depending on your point of view. Below are the customer hold types and what each one means in terms of the functionality.
No – This means that the customer is not on hold. So, if you want to take a customer off hold chose this value.
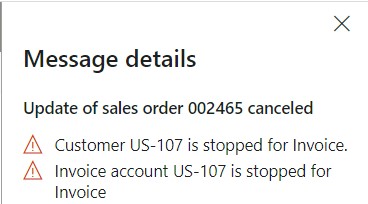
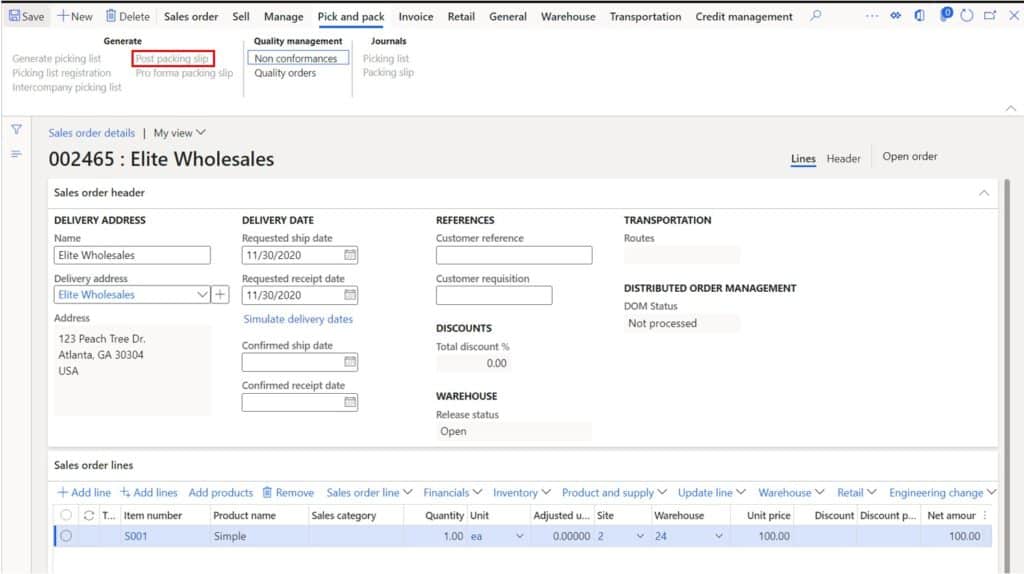
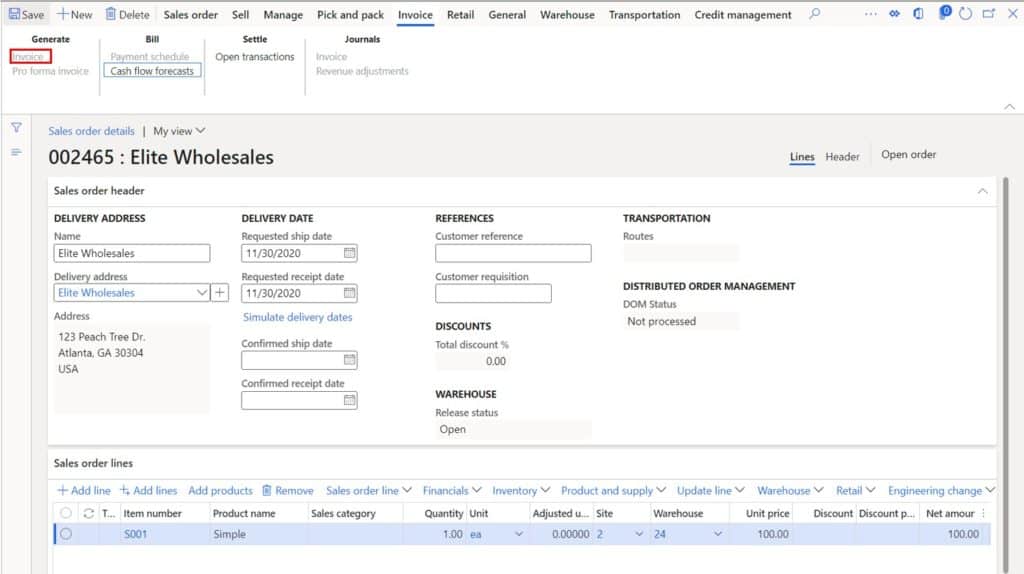
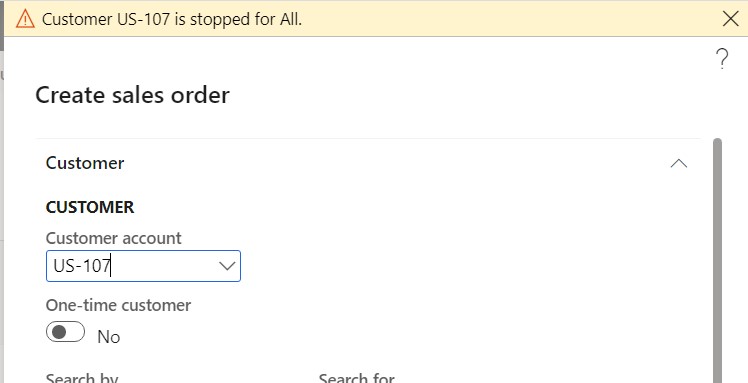
Invoice – This hold type means that a sales order can be created but the packing slip, and invoice buttons will be disabled. This option will still allow you to post payments against the customer. You will also receive a warning message when you create the sales order letting you know that the customer is stopped for invoicing.
All – If you select this option the customer is on hold for all transactions which includes, payments, sales orders, sales quotations, and invoices. When you attempt to create a transaction like a sales order you will receive an error message. You will be able to create a sales quotation but the “Send quotation” button will be disabled.
Mass Update Hold Status
You can manually update the “Invoicing and delivery on hold” field for each customer that needs to go on hold but if you have a large number of customers that need to be put on hold, it may not be feasible to manually update each account.
In that case you can use the D365 Excel add-in functionality to update the “Invoicing and delivery on hold” field to the appropriate value for multiple customer accounts and then publish back the changes to D365.
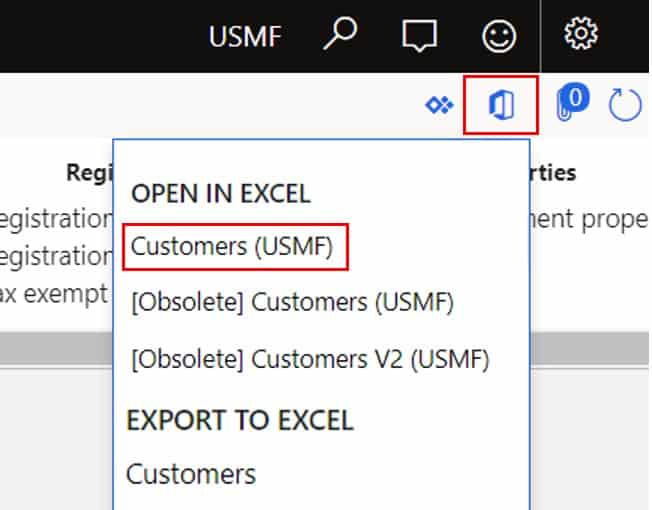
To do this navigate to Accounts receivable > Customers > All customers. Click the Microsoft office icon in the top right corner and click the “Customers” data entity in the “Open in Excel” section. Click the “Download” button on the flyout form. This will download an Excel file.
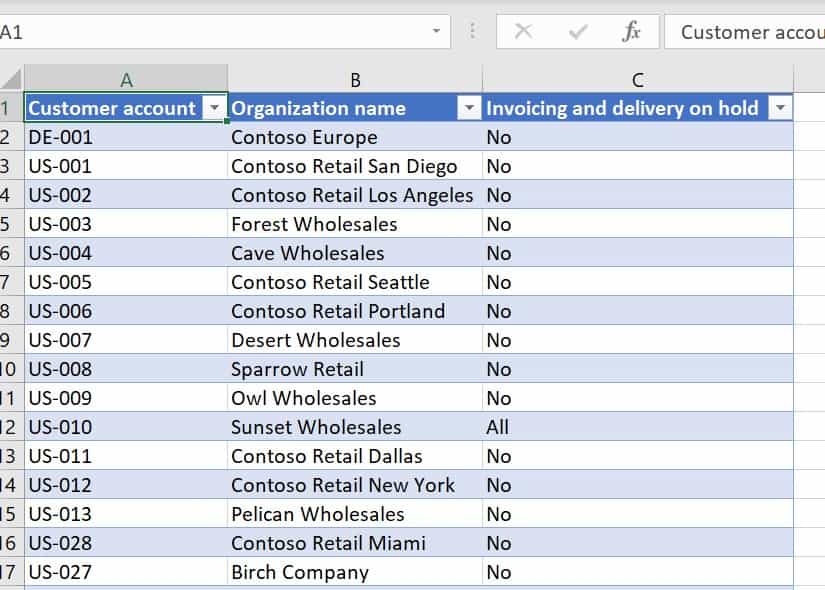
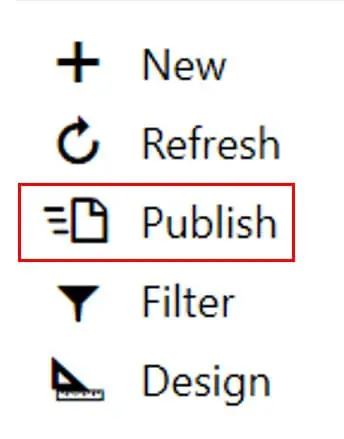
Open the file and click the “Enable editing” button. This will populate the data. Then you can modify the “Invoicing and delivery on hold” field and click the “Publish” button to upload the changes to D365. For a step by step guide on how to use the D365 Excel add-in see this post.
Sales Order Holds
There may be cases where you do not want to put an entire customer account on hold but just a specific sales order. You can do this by using order hold codes.
To place an order on hold, navigate to Accounts receivable > Sales orders > All sales orders. Click on the sales order you want to place on hold and click the “Order holds” button.
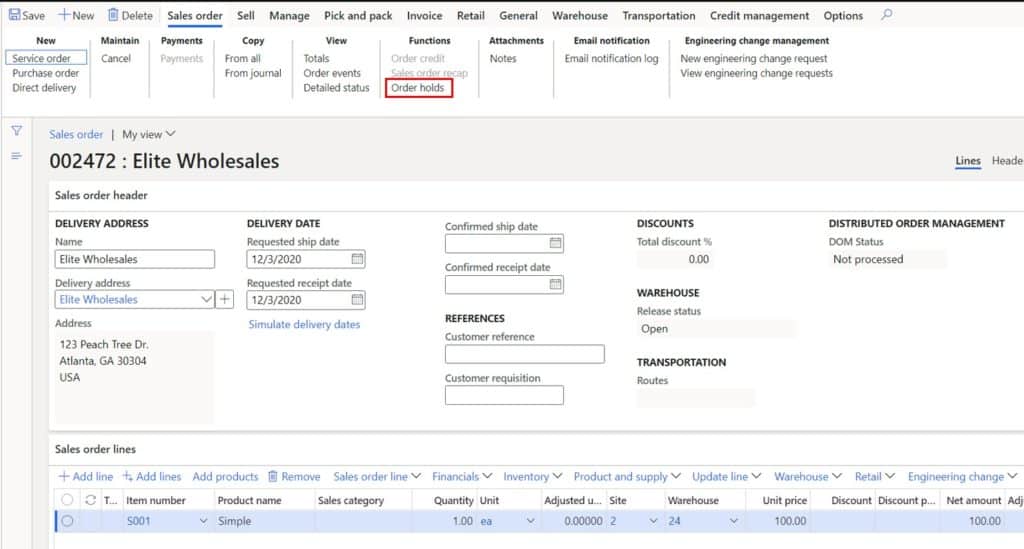
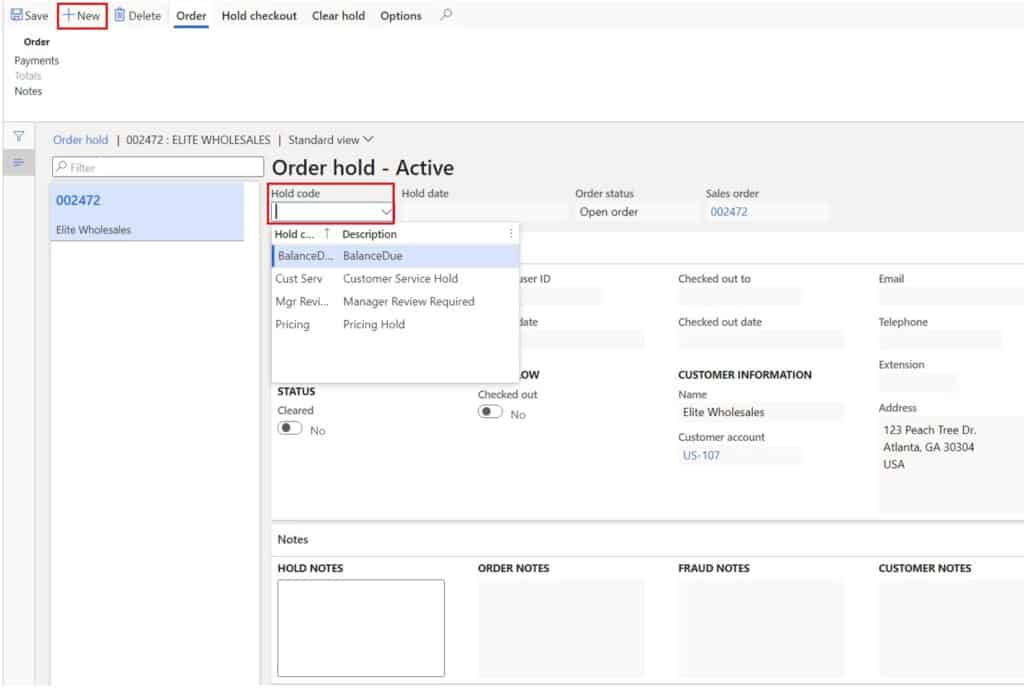
In the order holds form click the “New” button to create a new hold. Then select the appropriate hold code that represents the reason for the hold. Then close the form.
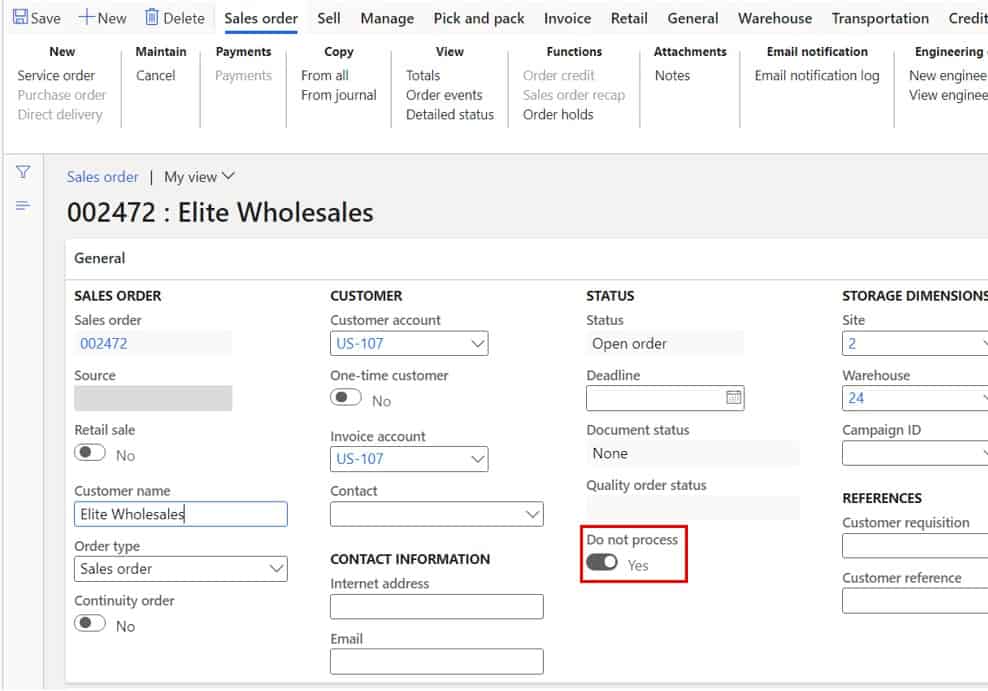
This will enable the “Do not process” flag on the sales order header. When this “Do not process” flag is set to “Yes” the order cannot be processed further. That means the order cannot be released to the warehouse for picking, the order cannot be shipped, or invoiced.
When you are ready to take the order off hold, click the “Order holds” button again and click the “Clear holds” tab. Then click the “Clear holds” button.
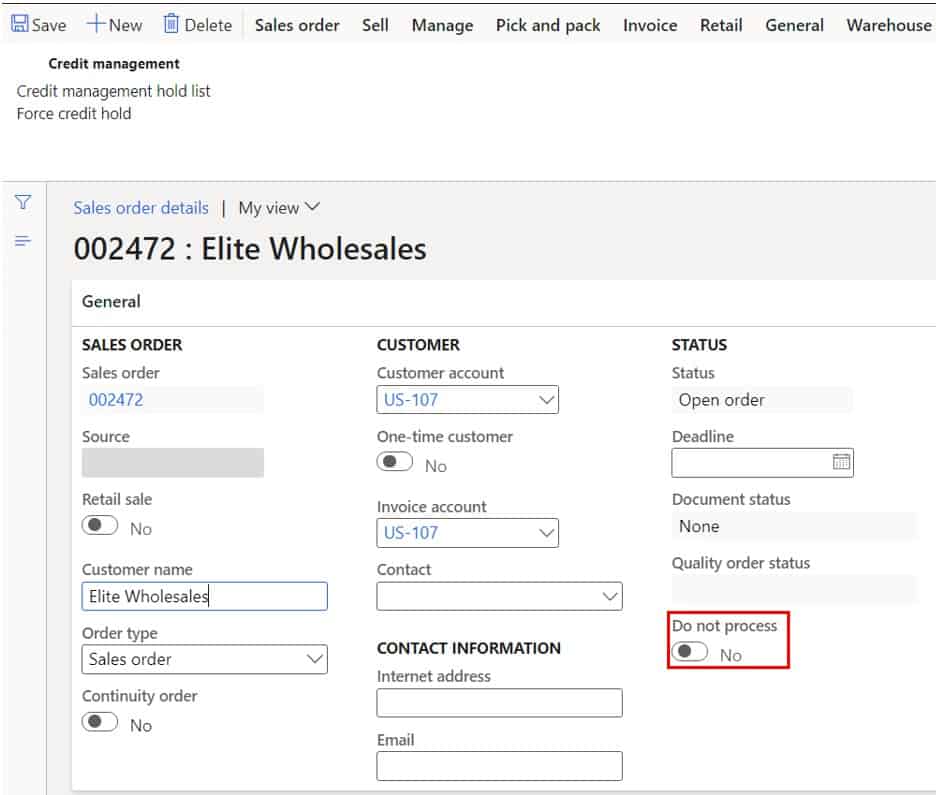
This will remove the hold and set the “Do not process” flag back to “No”. Once the hold is removed it can be processed.
Sales Order Credit Hold
Another way to put a sales order on hold is to put it on a credit hold. In the new Credit Management module, you can set up blocking rules which can automatically put an order on credit management hold if certain credit rules and limits are met.
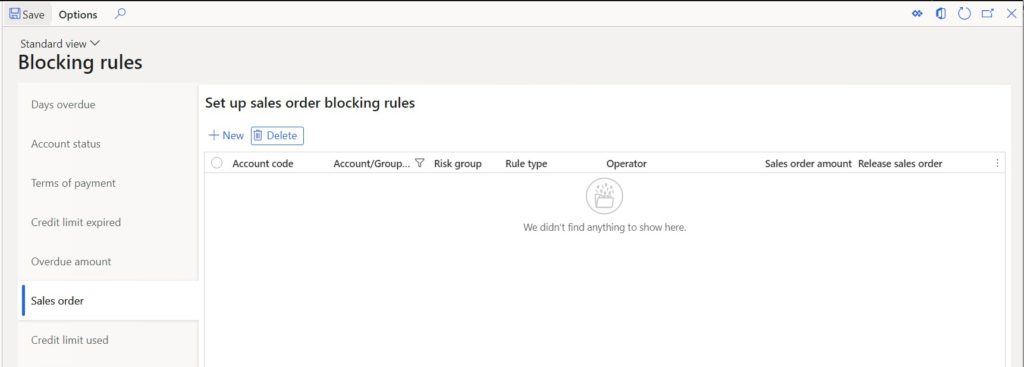
To set up a blocking rule navigate to Credit and collections > Setup > Credit management setup > Blocking rules. There are several different blocking rules that can be used to automatically place a customer sales order on credit hold. For this example, I will just use the “Sales order” blocking rule. I will devote another article to explaining the blocking rules functionality in its entirety.
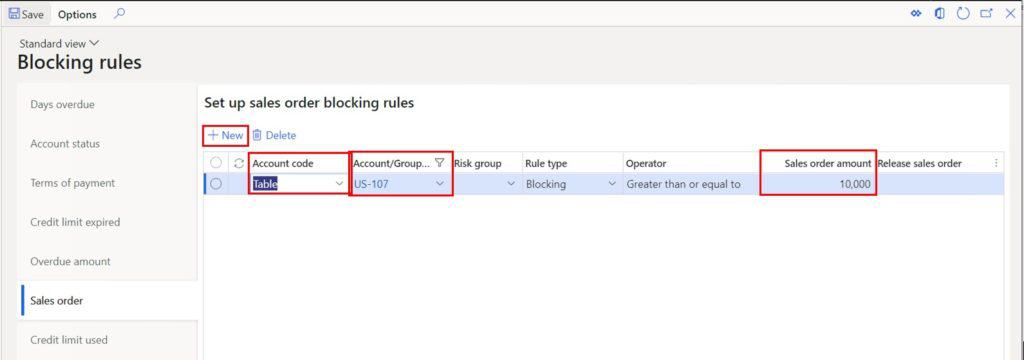
To create a new sales order blocking rule, click the “New” button. In the “Account code” select whether the rule should apply for a single customer (“Table”), a group of customers (“Group”) or all customers (“All”). In this example it will only apply for the customer I am using so I will select “Table” and then select my customer account. Next in the “Sales order amount” field enter the amount of the sales order that should trigger credit management.
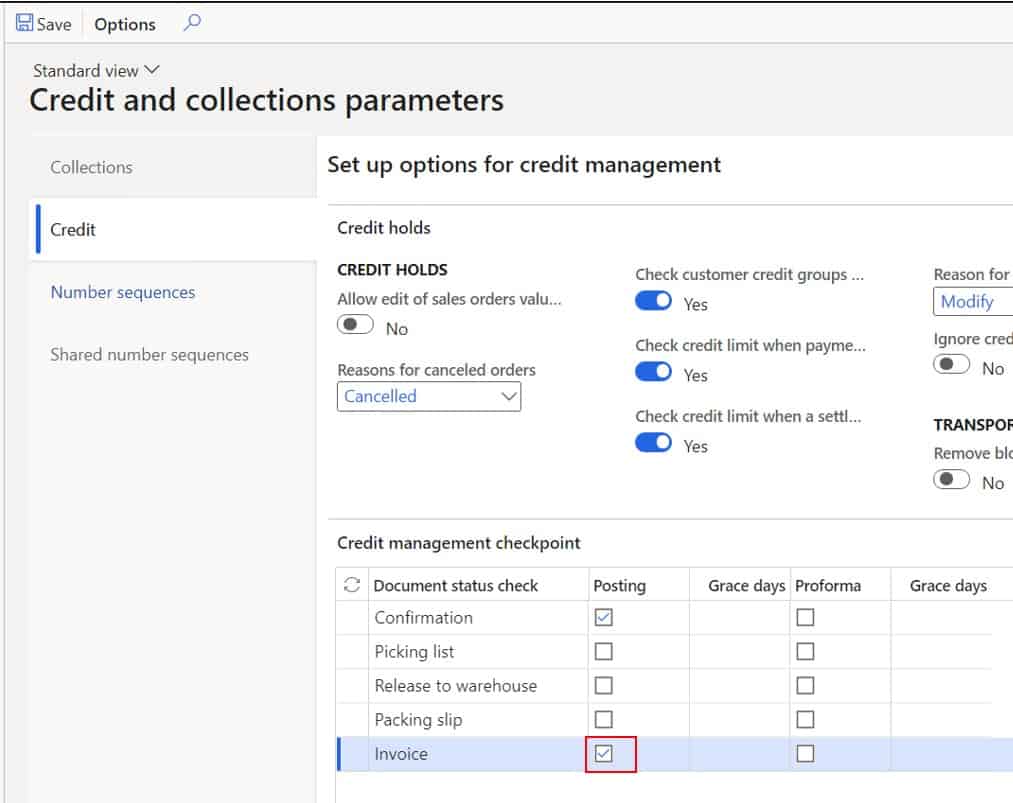
Next, we need to make sure that the credit management check will occur when we want it to. To do this navigate to Credit and collections > Setup > Credit and collections parameters. In the “Credit” tab we will need to let D365 know when we want it to fire the blocking rules. I will select invoice posting.
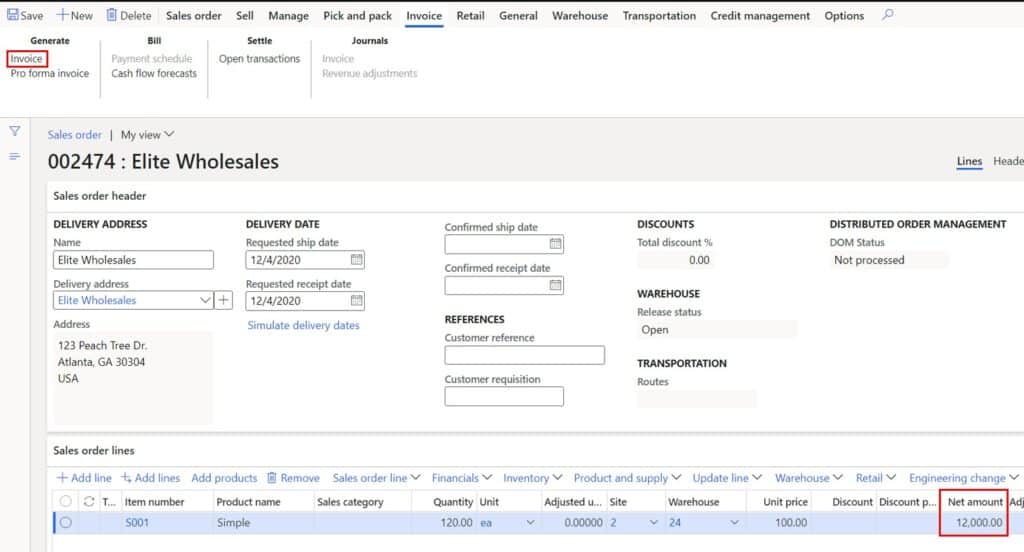
Next, we will create our sales order and make the amount above $10,000. Then to trigger the credit hold I will invoice the order.
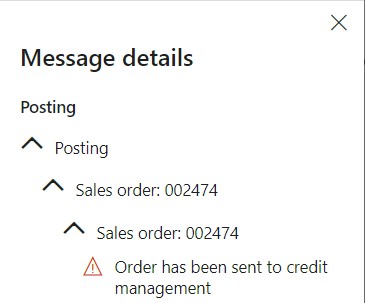
Now I will receive an error message saying that “Order has been sent to credit management” because my blocking rule was triggered.
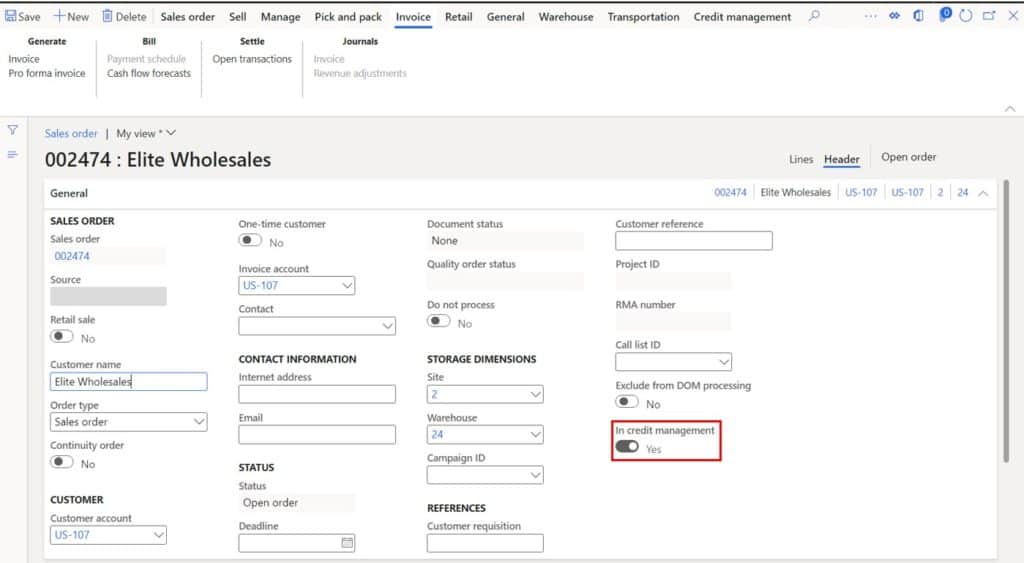
Now if I check my order header, I can see that the “In credit management” flag has been set to “Yes”. This will also prevent any further processing of the order until the credit hold is cleared.
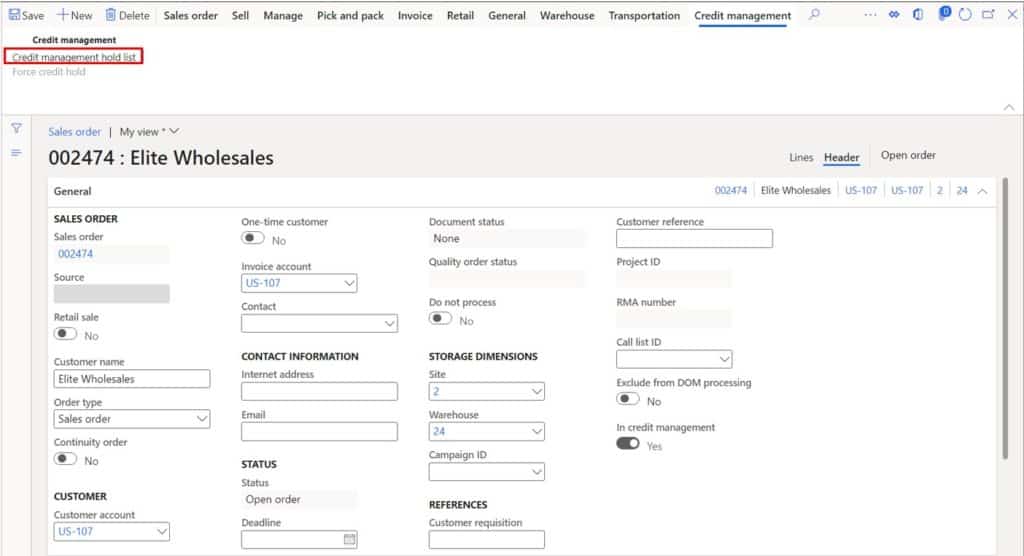
Once the credit manager has reviewed the account and determined that the hold can be released, we can remove the hold by clicking the “Credit management hold list” in the “Credit management” tab. The credit management hold list will show all the credit management holds that may have been applied to the order. If multiple blocking rules were triggered, you may have multiple credit holds.
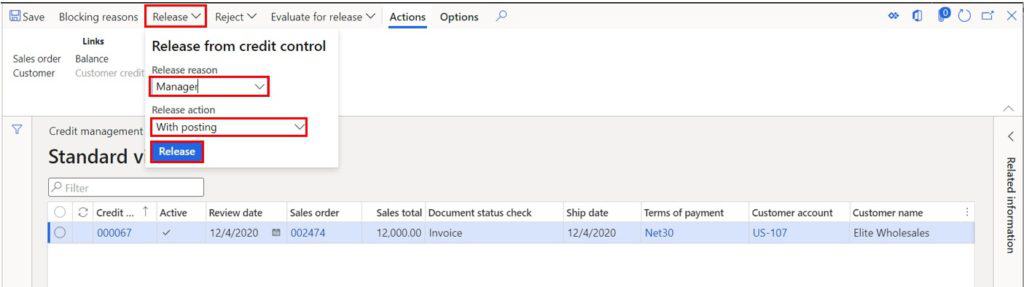
Click the “Release” button, select a “Release reason”, and select a “Release action”. A release action can either be “With posting” or “Without posting”. If you select “With posting” this will resume the action that initially triggered the credit hold. If you select “Without posting” the hold will be removed but no action will be taken to the sales order. I will select “With posting” which will invoice the order.
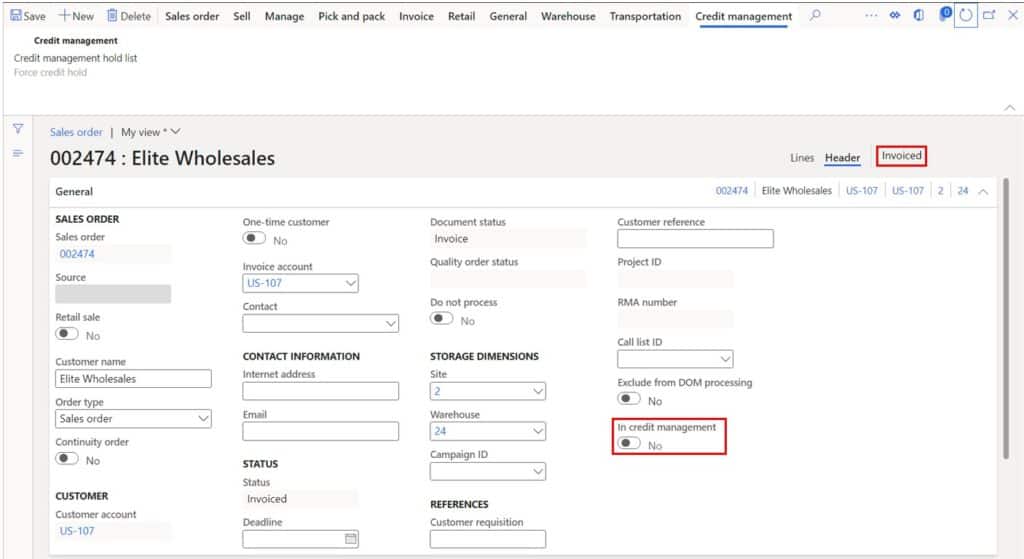
Now we can see that the “In credit management” flag is set to “No” and the sales order is in “Invoiced” status.
Takeaways
This article has shown you several ways you can put a customer account on hold or even an individual sales order on hold in Dynamics 365 Finance and Operations. I hope this article has given you some options in terms of the features you can utilize to meet your business process requirements.