

This article is meant to be an introduction to Dynamics 365 Finance and Operations. For anyone just starting out with Dynamics 365 Finance and Operations it can be hard to get your bearings at first. You have spent several years working with a system that had a completely different look, feel, and navigational structure.
This article is intended to cover some of the basics and get you started with navigating in the application. Note: If you are looking for more information on personalization it’s not in this article. To cover everything I wanted to cover on the topic of personalization I had split it out into a separate article called Personalization: Dynamics 365 Finance and Operations.
Login
Unlike Dynamics AX 2012 which uses Active Directory Domain services to authenticate users and is deployed as a desktop application, Dynamics 365 Finance and Operations uses Azure Active Directory to authenticate users and is typically deployed as a cloud application.
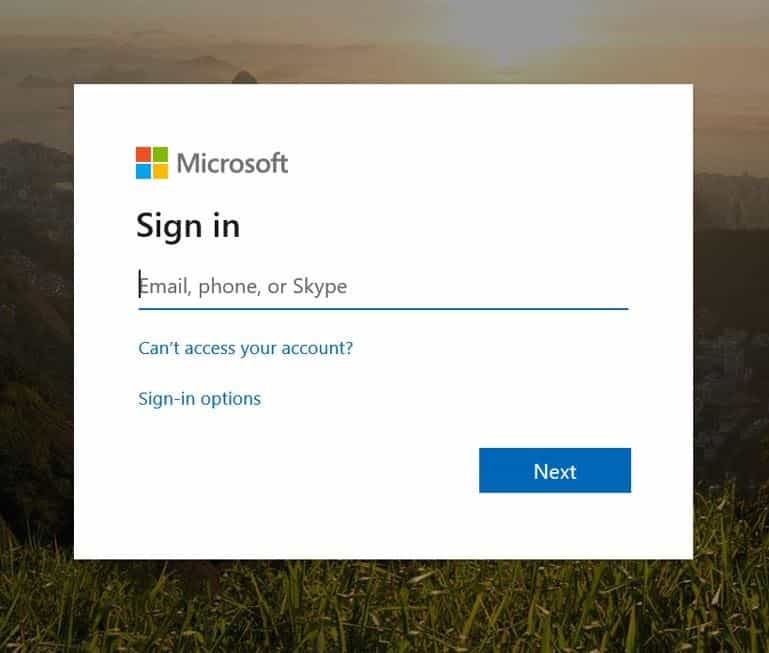
The login screen that the user will see when logging in looks similar to the screen shot below. The user will enter their active directory credentials and AAD will authenticate and render the Dynamics 365 Finance and Operations application.
Landing Page
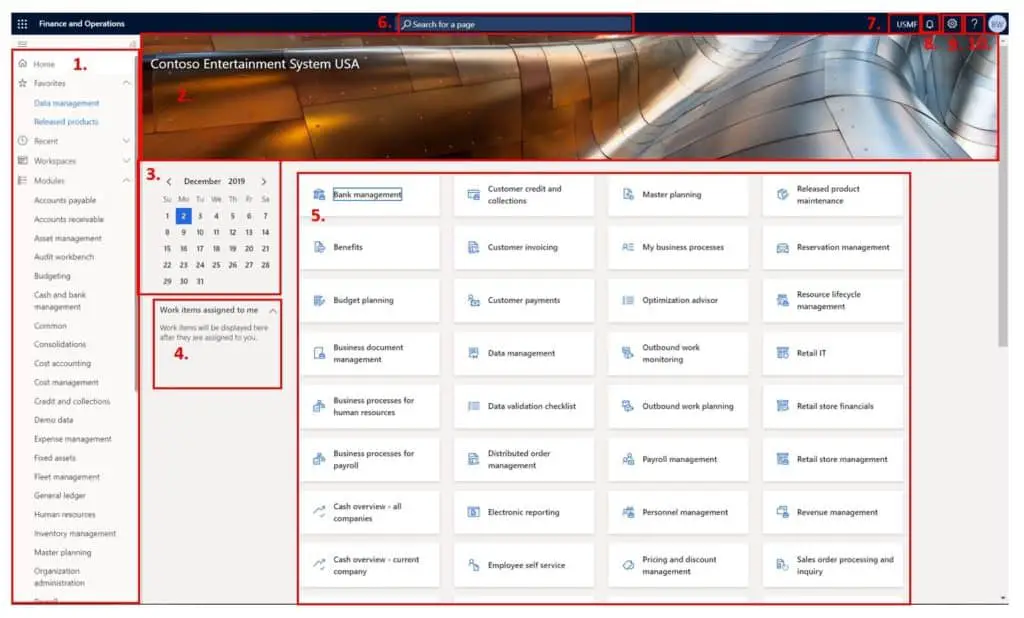
Once you have logged in you reach the landing page. The page anatomy is broken down into the following pieces.
- Navigation Pane – On the left side of the screen you will see the navigation pane where all of the modules are located.
- Company Logo – If the company has a logo image set in the legal entity the image will display here.
- Calendar – This is just a helpful calendar on the landing page.
- Work items assigned to me – This is where the user can see any workflow approvals or other work items currently assigned to you.
- Workspaces – For more information on Workspaces see my article Workspaces: Everything You Need to Know.
- Search bar – The search bar is way you can search for different menus in the application.
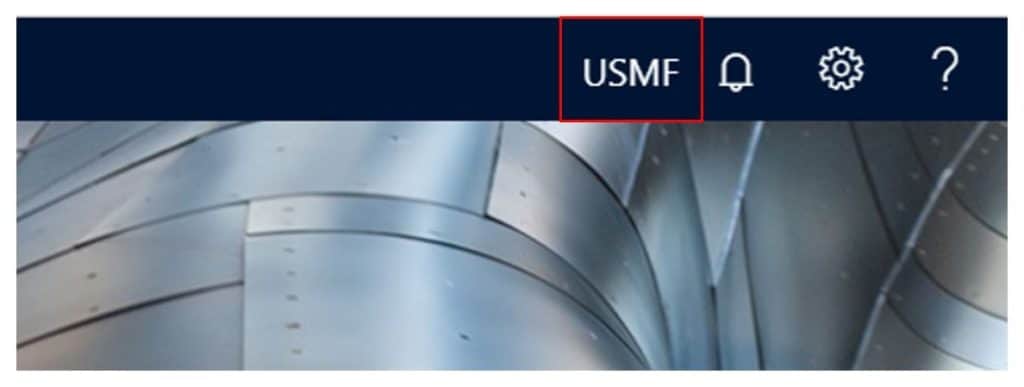
- Company – This lets you know which legal entity you are currently in.
- Action Center – The action center will contain error, warning, alert notifications, or information messages from the application. For more on how alerts work in Dynamics 365 Finance and Operations see How to Use Alerts.
- Settings – This is where you can set user specific settings to improve the personal user experience.
- Help – The help menu is contextual and can link to Microsoft help content or company specific help content from LCS.
Companies
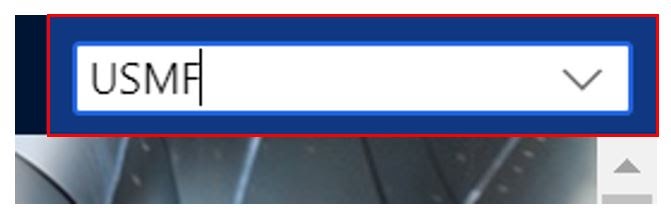
Companies are distinct legal entities with financial reporting requirements. Depending on if you have access to multiple legal entities, you can flip back and forth between different legal entities to complete transactions in each respective entity.
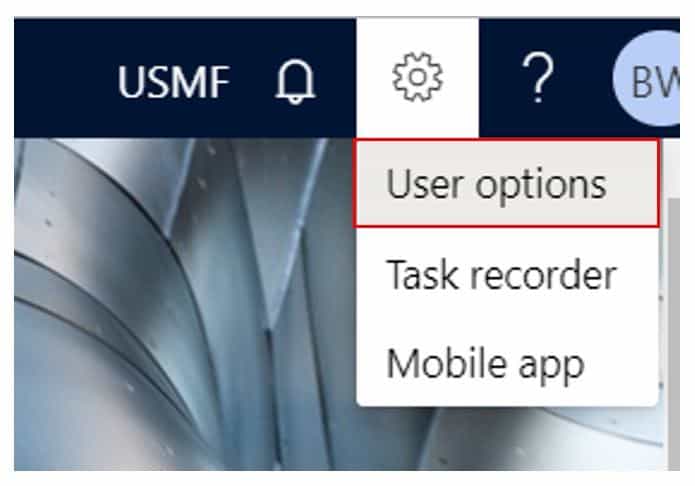
User Options
The user defaults are specific to each user and can be set to help with the user experience and look and feel of the application.
To set the user defaults click the “Settings” button which looks like a gear icon.
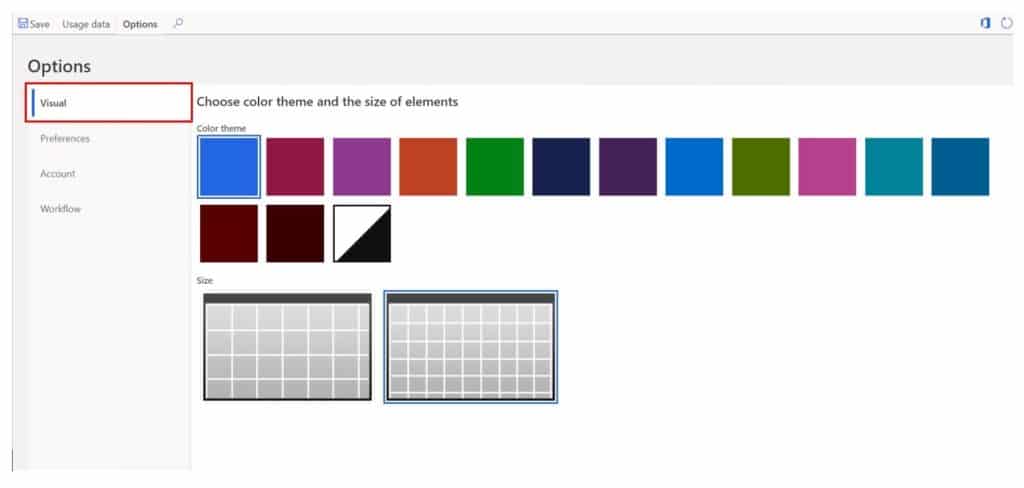
Visual
In the “Visual” tab the user can set the desired color pallet as well as a larger screen rendering or a smaller screen rendering. I would recommend the smaller screen rendering because the majority of forms render data better with the smaller setting.
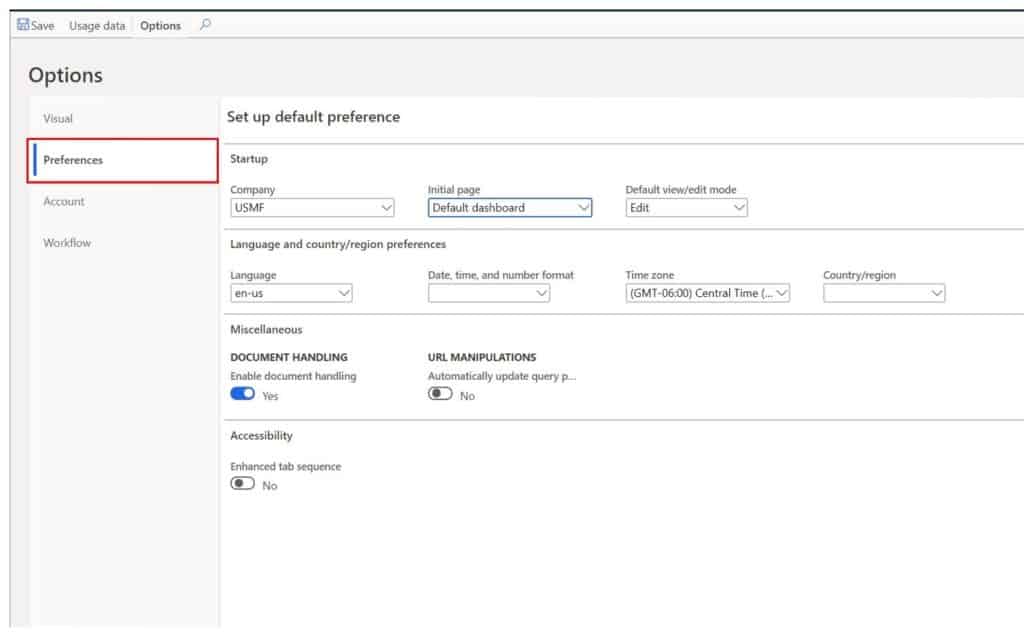
Preferences
In the “Preferences” tab the user can set the following:
- Company – The user can set the company that they will default to when they log in initially.
- Initial page – This is where the user can identify which page they would like to initially land on when the user logs in. The options are:
- Default dashboard
- System administration
- Feature management
- Essentials dashboard
- Employee self service
- Prospective vendor registration
- Default view/edit mode – This will be the mode that the forms initially open in when you open a form. I would suggest setting this to “Edit” so that you don’t need to click the “Edit” button to edit data in forms.
- Language – This is the language that D365 will render in. If you have users with foreign language requirements this can be set by individual user.
- Date, time, and number format – This will change the date, time, and number format specific to the user language.
- Time zone – This is the time zone specific to the user. This is important because this will be used when the user schedules batch jobs. The times will be relative to the user time zone regardless of the time zone of the database servers.
- Country/region – This is the default address format for the user. So when the user enters an address this is the default address format that will be defaulted.
- Enable document handling – This enables document management for the specific user. If the user has no need to create attachments this can be disabled.
- Automatically update query parameter – If this is enabled, when the user queries a page the URL will be updated to include that query. If the user wants to add the page to her favorites, the query will be embedded in the URL and the page will open with the data already filtered.
- Enhanced tab sequence – Some users prefer the speed of the keyboard when entering data and the tab sequence in important. This option allows all the elements on the form to be tab sequenced so the user can tab through the relevant fields for data entry.
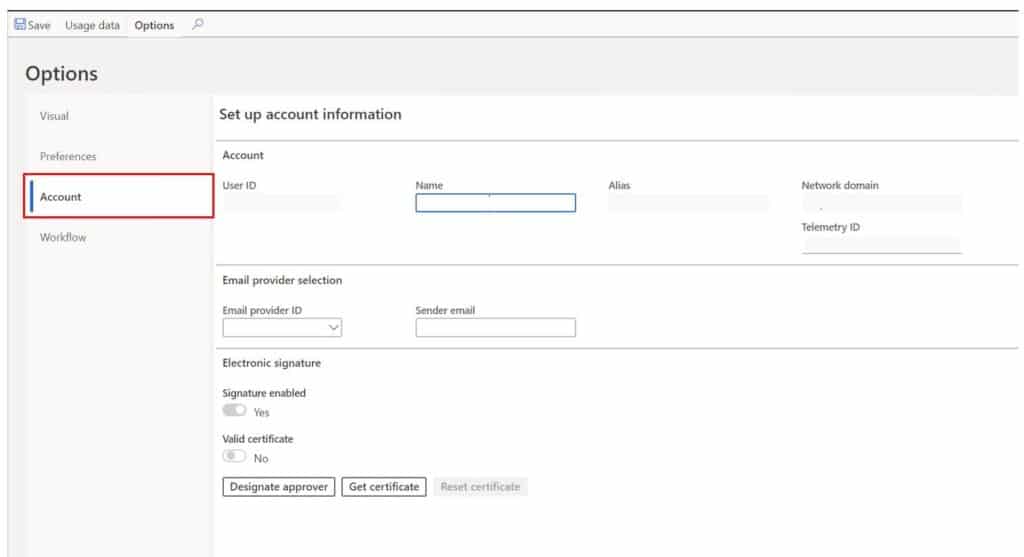
Account
In the “Account” tab the user can set the following:
- User ID – This is the user ID associated with the user. Anywhere in the system the user ID is captured will reference this ID.
- Name – This is the name of the user.
- Email provider selection – When an email is sent this is the email provider that will be called.
- Sender email – If an email is sent form the system by the user, the sender email will be the email displayed as the sender.
- Signature enabled – Is the user enabled for electronic signature. (For more information on electronic signatures see my article How to use electronic signature.
- Valid certificate – This indicates that the user has a valid certificate for electronic signing.
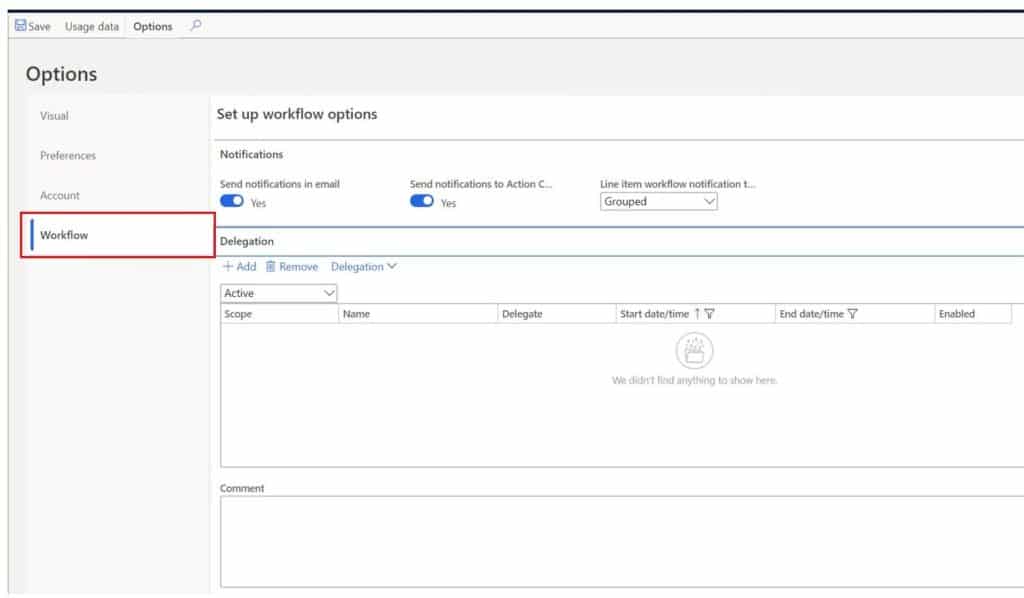
Workflow
In the “Workflow” tab the user can set the following:
- Send notifications in email – This enables workflow notifications through email.
- Send to notifications to action center – This allows workflow notifications to be seen in the action center.
- Line item workflow notification type – This will indicate if you want line item workflow notifications to be grouped together or sent as individual notifications.
- Delegation – The delegation section is where you can assign delegates for specific workflows or modules.
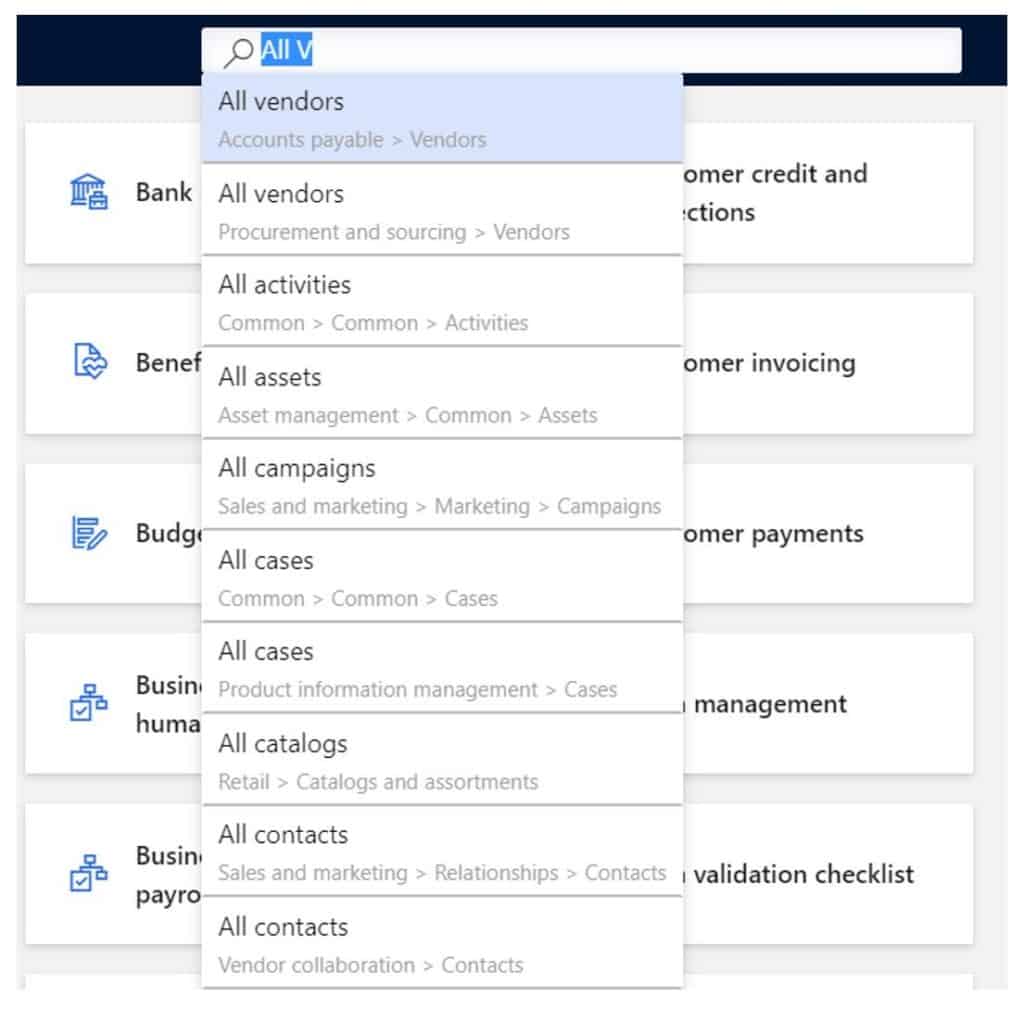
Search Bar
The search functionality in Dynamics 365 Finance and Operations is one of the most powerful user experience improvements from Dynamics AX 2012 to Dynamics 365 Finance and Operations. This feature allows you to search for a particular menu item link and navigate directly to it without having to know the module, folder, and subfolder where the menu item link resides. The search will also show the path to the menu item link so if you need to navigate to it you have it there as a reference.
Navigation Pane
The first time you log into Dynamics 365 Finance and Operations the navigation pane may be collapsed. To open the navigation pane, click the hamburger menu. It’s called a hamburger menu because of the three dashes (I did not come up with this name, but it is very commonly used).
Once you have the navigation pane open you can click the pin button to keep the navigation pane open.

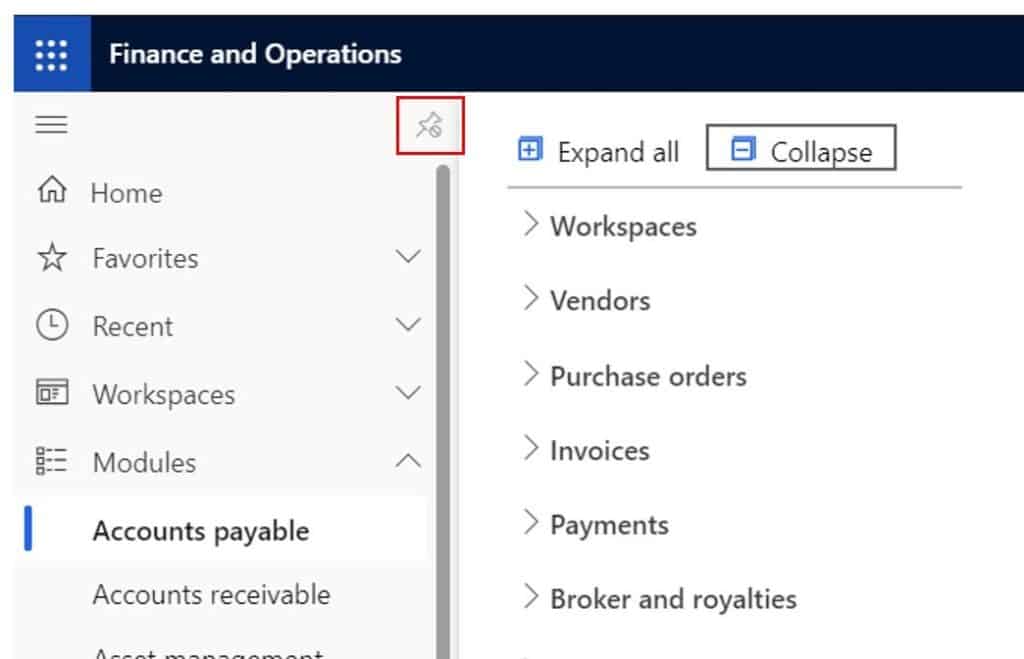
The first button is the home button. This will just take you back to the default landing page.
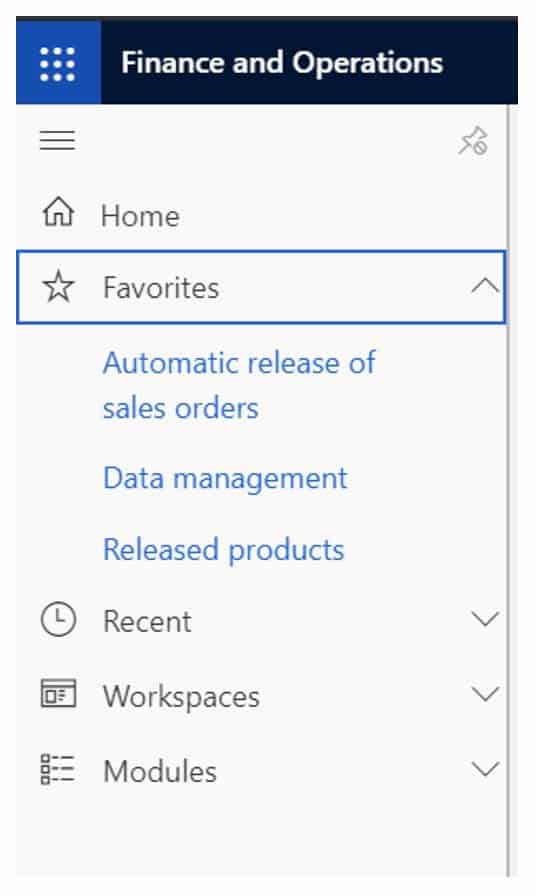
The second menu called “Favorites” will list of user defined favorites for commonly used menu items. The user can favorite a menu item by clicking the star icon to the right of the menu item link.
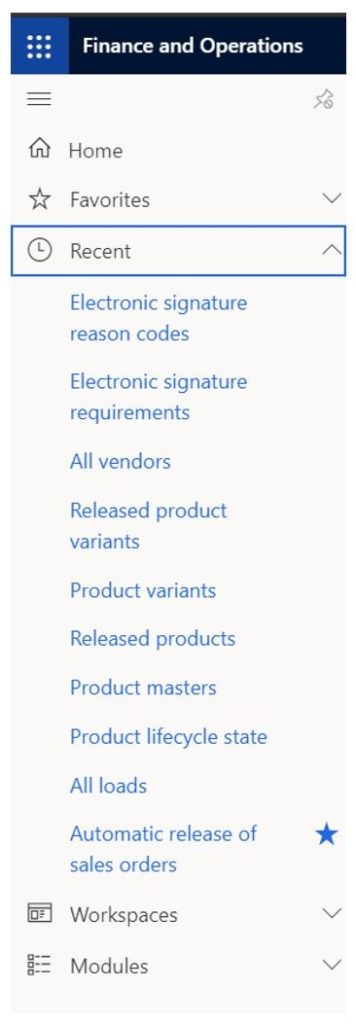
The third menu is the “Recent” menu. This will capture all the menu links that the user has recently navigated to.
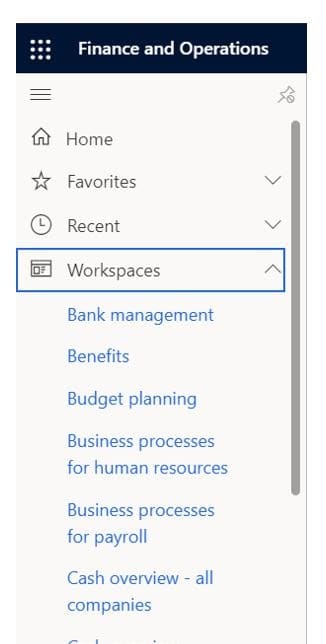
The fourth menu is the “Workspaces” menu. This is a listing of all the workspaces that the user has access to.
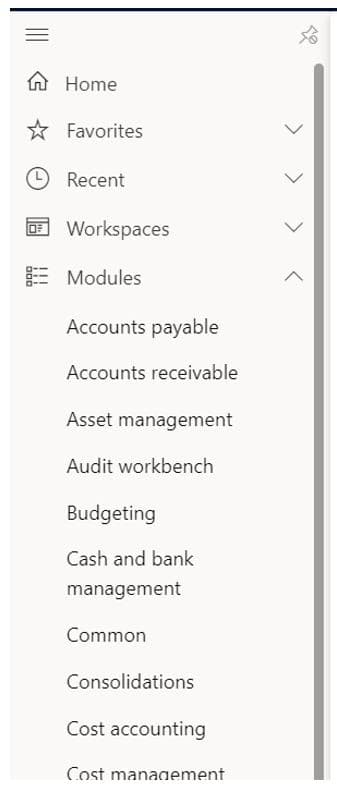
The fifth menu is the “Modules” menu. This is a list of each module in the application in alphabetical order.
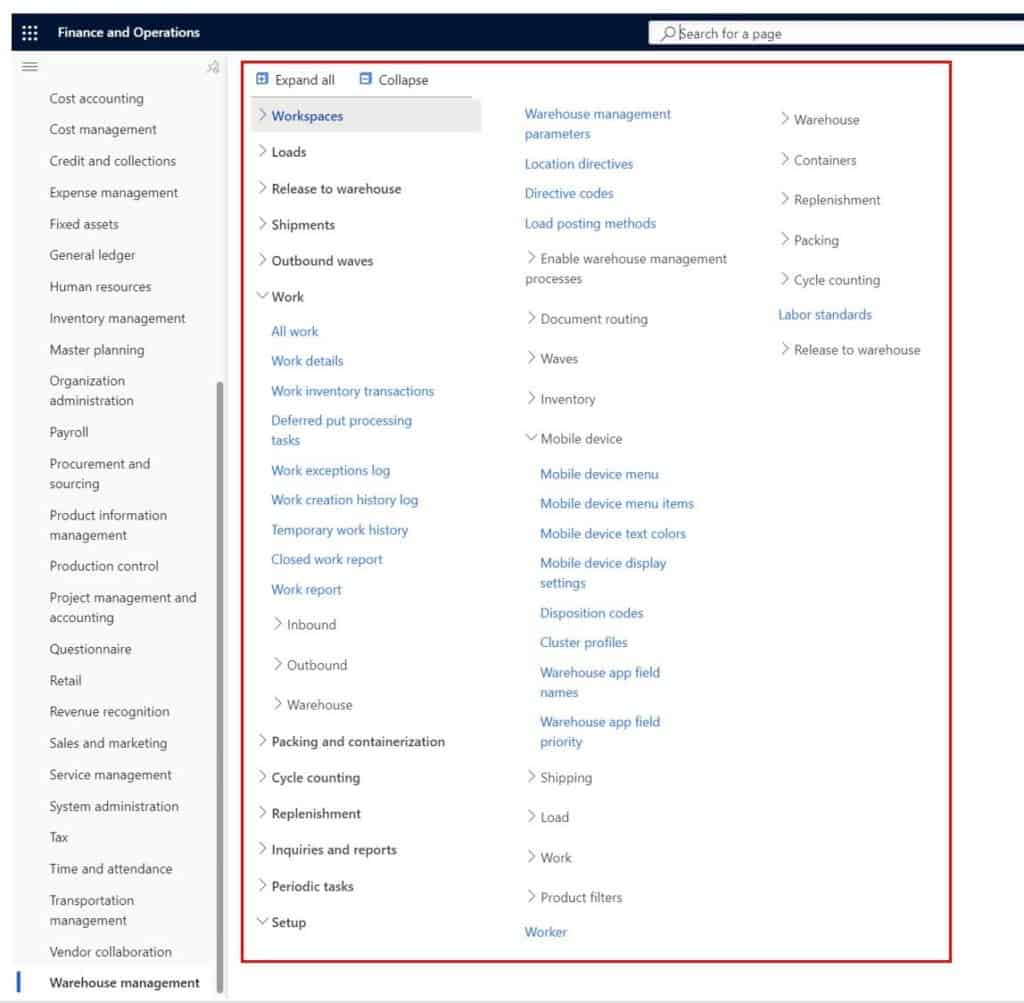
Area Page
Within each module there is an area page. The area page contains a listing of each folder and sub folder with the lowest level links are called “Menu item links” that open different forms, list pages, reports, batch jobs, and inquiries.
List Page
A list page is a page that typically contains master data that can be created, read, updated, and deleted. An example of a list page is the “All Vendors” list page. This page contains all vendor master data. This data will be referenced throughout the application where vendors are used.
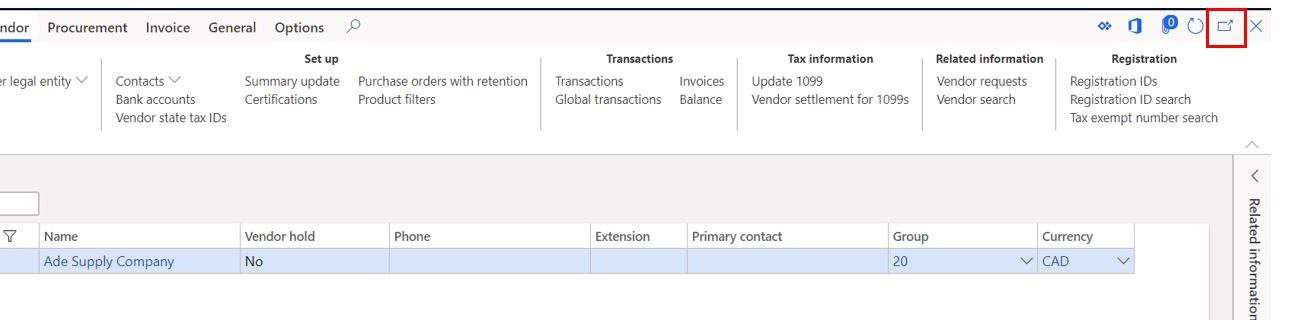
Opening Multiple Windows
In some cases, you may want to open multiple pages to be on multiple forms or inquiries at one time. You can use the “Open in new window” button to open the form in a new window or you can right click on the browser tab and click “Duplicate” to duplicate the tab then you can stay on one form in one tab and use the other tab to navigate to the other.
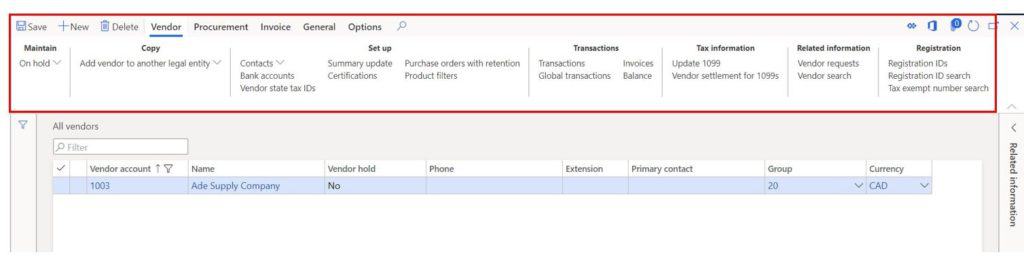
Ribbon
In the majority of list pages and forms you will find a pane at the top of the form that contains different buttons to perform different tasks and actions. This pane is called the “Ribbon”. Users familiar with Microsoft office products will probably already be familiar with this.
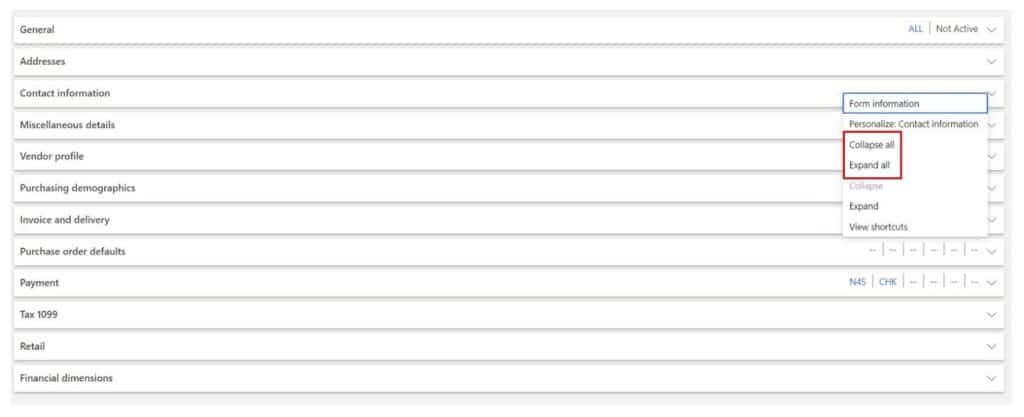
Fast Tabs
On master data, and setup forms you will find expandable tabs that contain more data and fields related to the form. You can expand and collapse each one individually or right click on the tb and select the “Expand all” or “Collapse all” option if you want to open or close all the fast tabs.
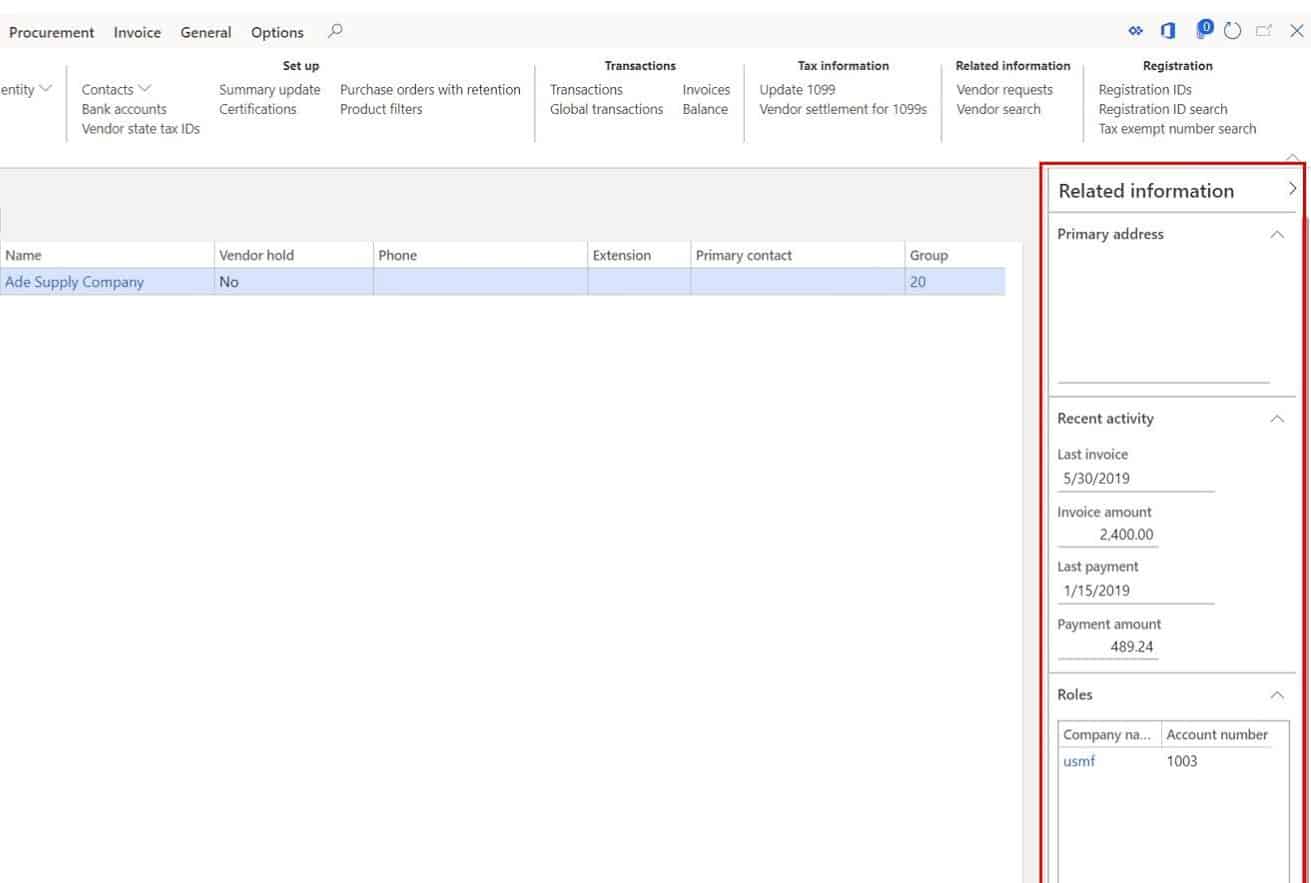
Fact Boxes
On the right side of some list pages throughout the application you will find fact boxes which contain additional data related to the currently selected record. Fact boxes can show more detailed data or aggregated or calculated data.
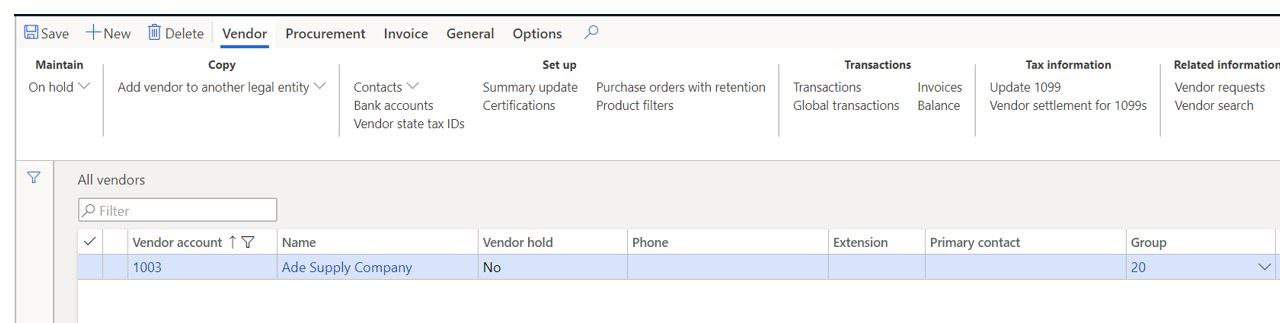
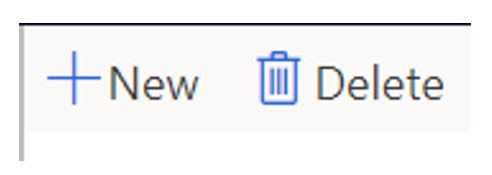
Create And Delete
Throughout the application in the left corner of any form where you can create data you will find a create button. The create button is typically labeled “New”. The delete button is labeled “Delete” and depending on if the user has access to delete, the button may be hidden. Also if there are dependent data somewhere else in the system the user may be prompted with an error message preventing them from deleting record.
Data Entry
In D365 when you create a new record the record will automatically save when you close the form regardless of whether you click the “Save” button. If you create a record by mistake you can tap the “Esc” (Escape) key on your keyboard and you will get a dialog box asking you if you want to save the record or close the form without saving.
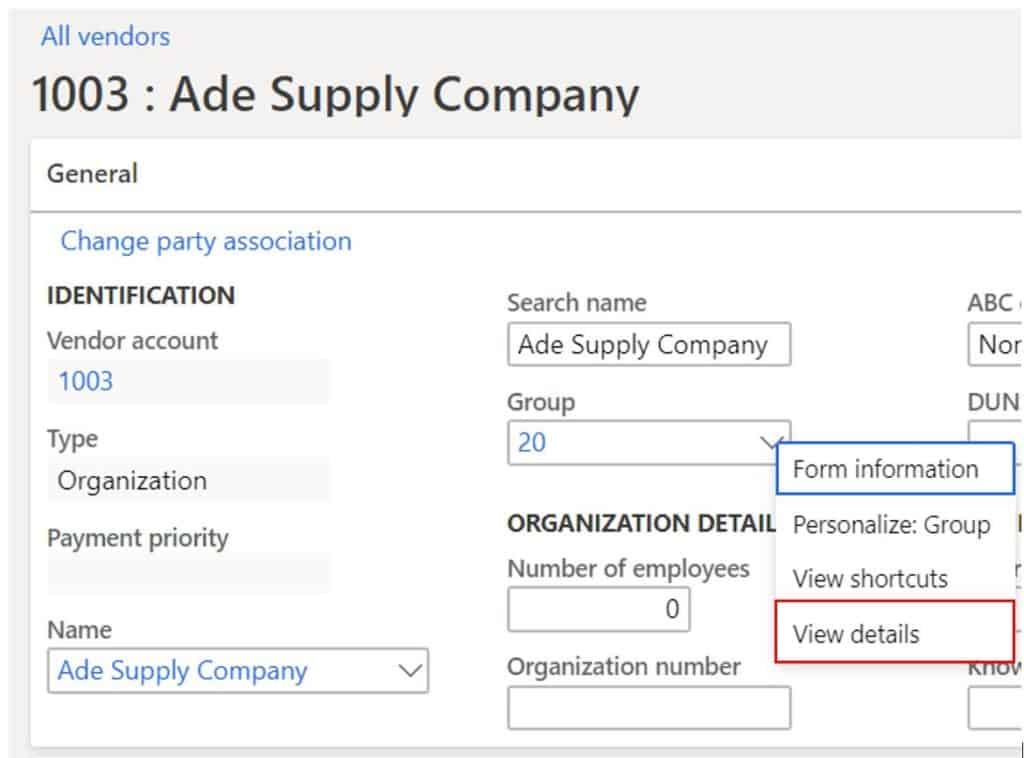
View Details
One of the core functionalities of integrated ERP systems is the ability drill down into related records directly in the same application. In Dynamics 365 Finance and Operations you can two this two ways.
The first is by clicking the hyperlink. This will take you to the related record in the related underlying table.
The second way is to right click on the drop-down selection and click “View details” this will also take you to the related record in the related table.
Filtering and Sorting
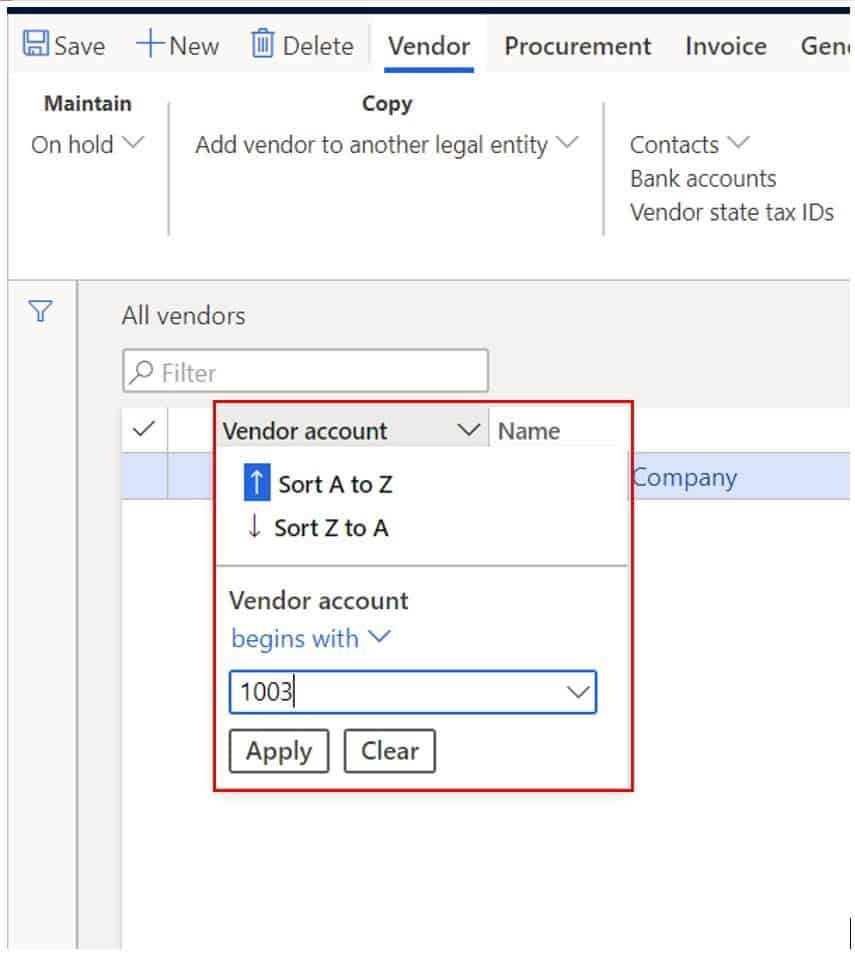
Filter By Field In The Grid
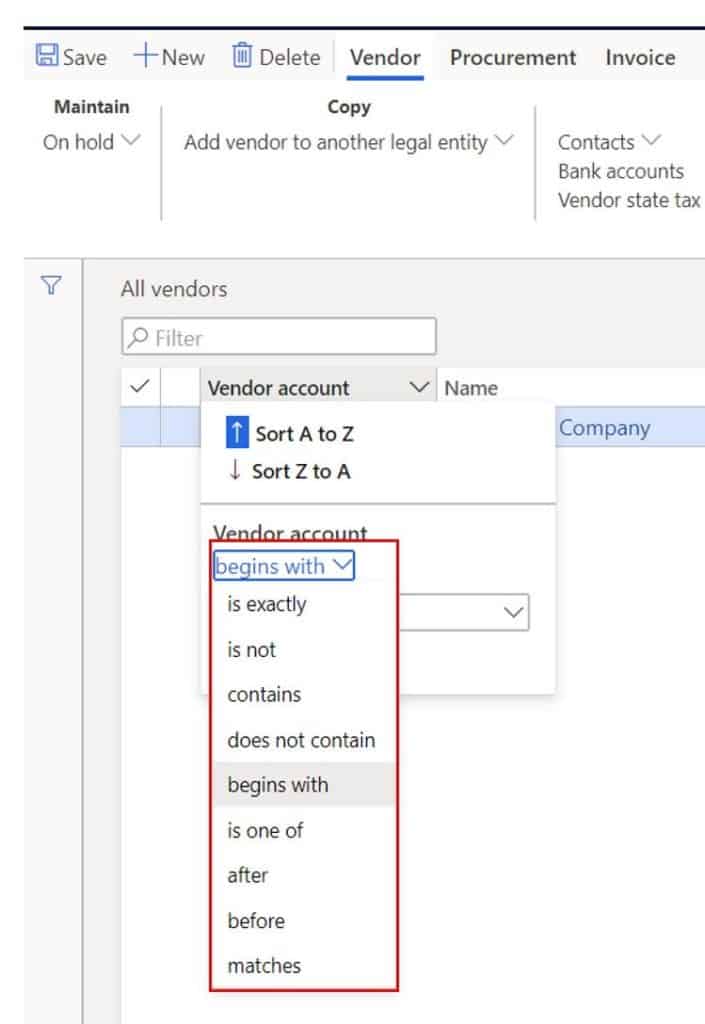
Each field, with the exception of a small number of calculated fields, are filterable and sortable. The user can filter by a field by clicking the field header and entering their filter criteria and clicking “Apply”.
The user can also define the search options to any one of the options shown below. If you don’t have the field, you are looking you can right click and click “Add fields” to add the field and then filter using the field. You can also apply filters to multiple fields at the same time to refine your query.
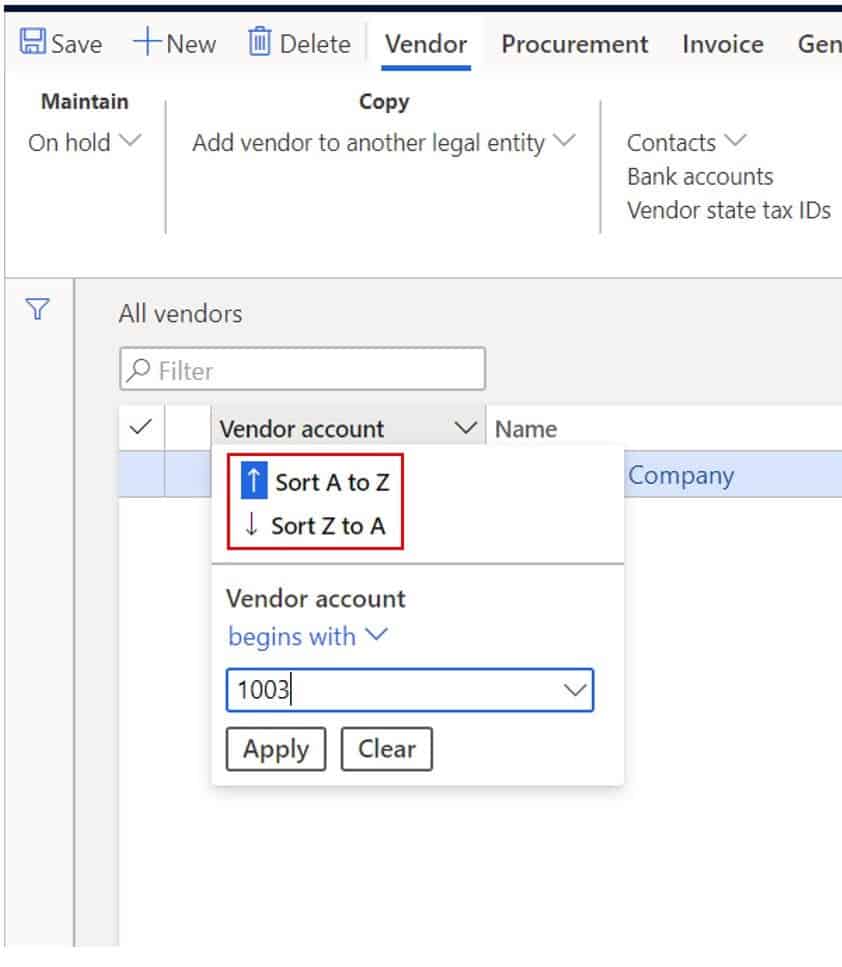
Sort By Field In The Grid
The user can also sort any field in the grid also by clicking the field header and clicking on the ascending or descending sort option.
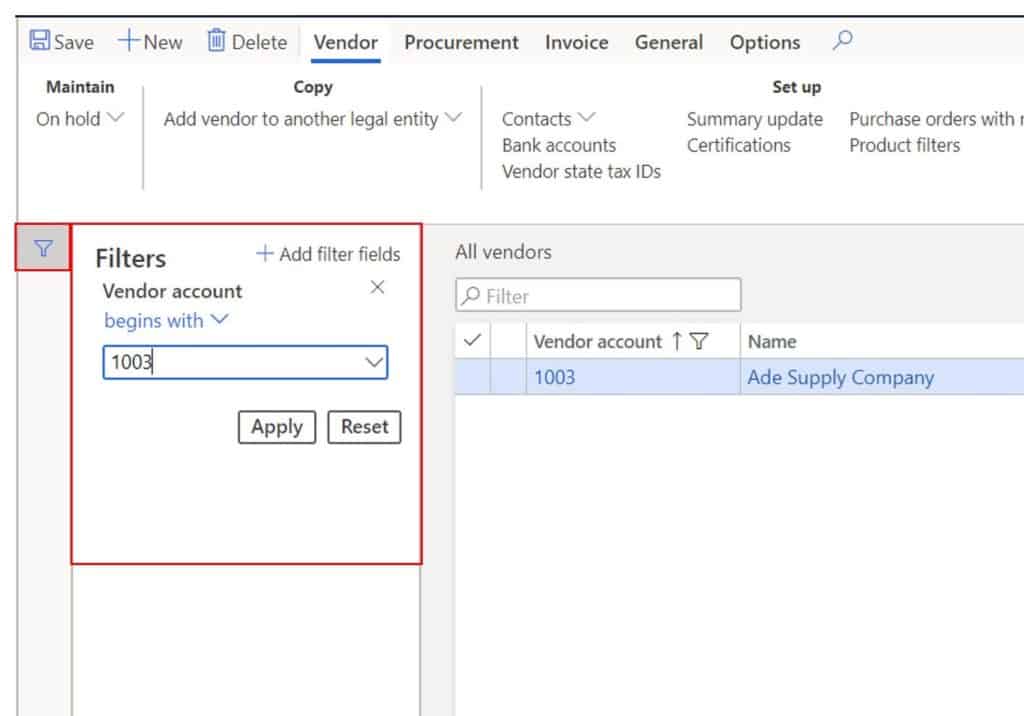
Filter Using Side Filter Panel
If you prefer to use the side panel to filter you can click the filter icon which will expand the filter panel and you can enter the search criteria into the relevant fields. You can also add fields as needed.
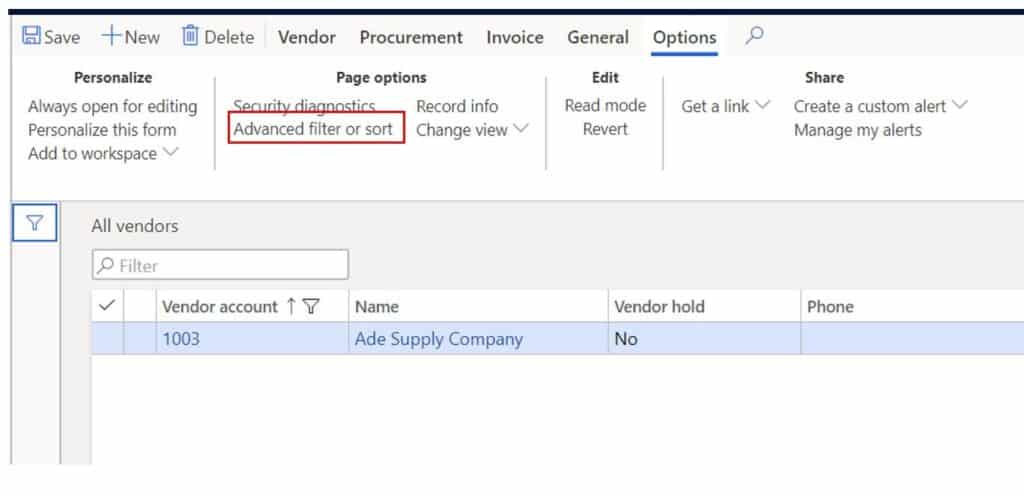
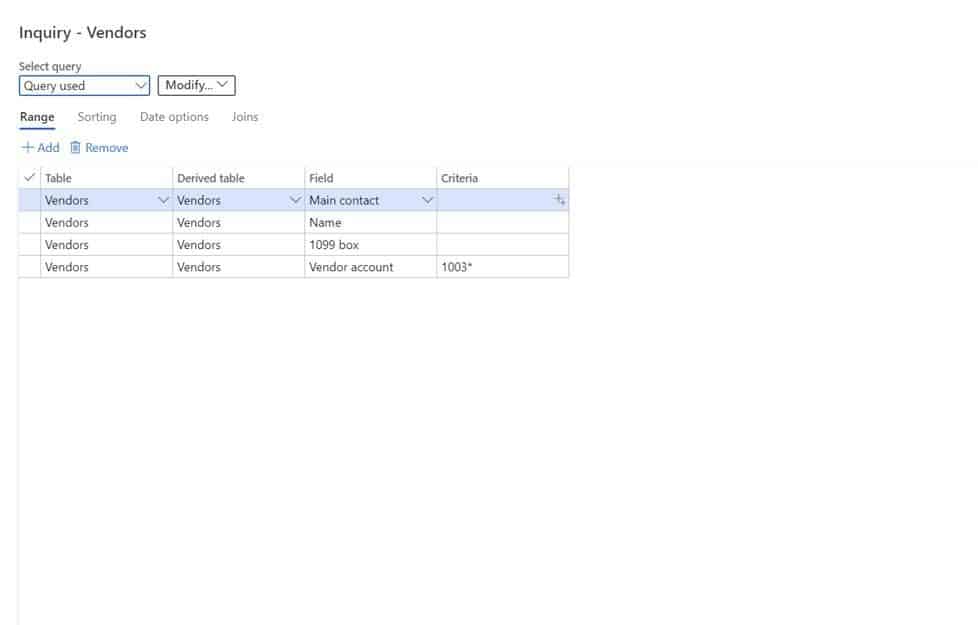
Advanced Filter
If you are not able to get the query you are looking for using the fields available on the grid, you can use the advanced filter to join other related tables to your query and use fields from those tables to create the exact query you need.
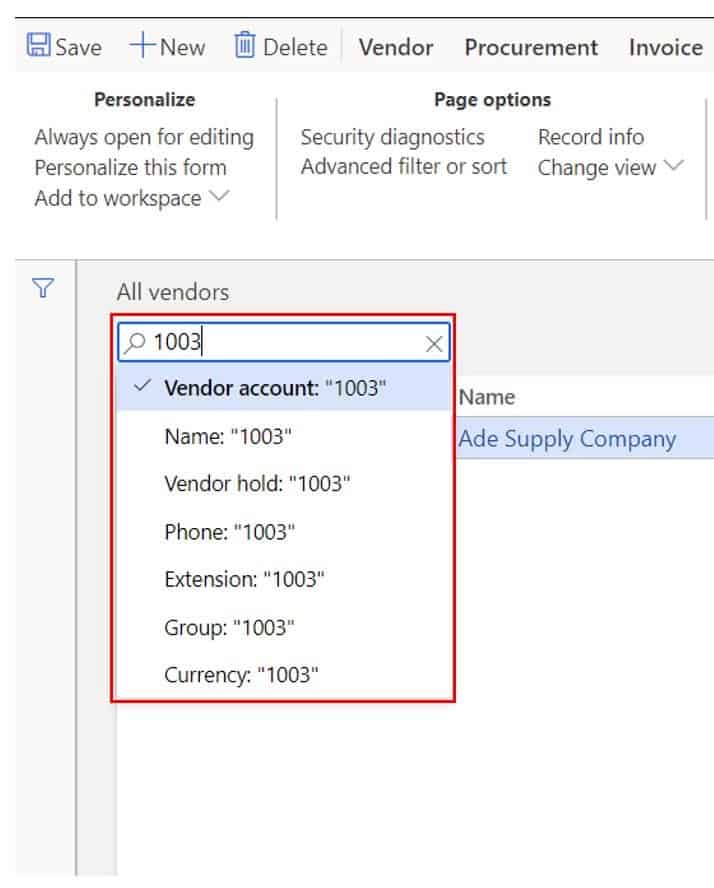
Search Bar Filter
Some list pages will offer a search bar where you can enter your search.
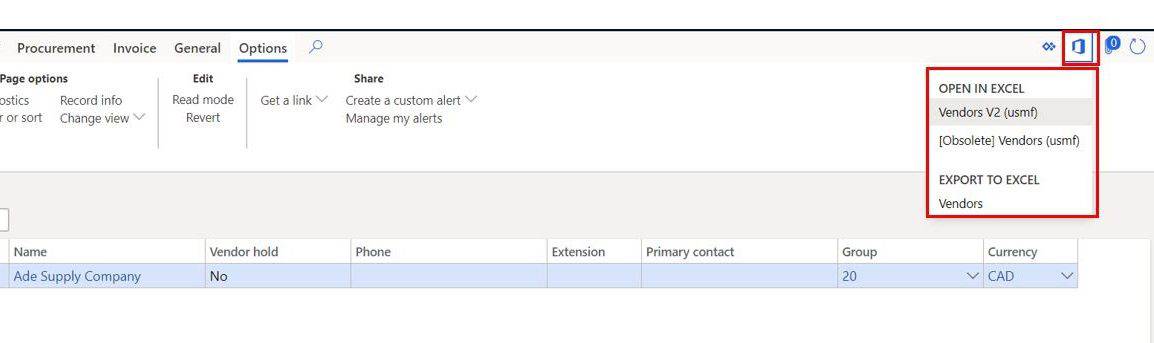
Export To Excel And Filter In Excel
If you’re more comfortable with data in Excel you also have the option to export your list page to Excel and manipulate the data in Excel using all the power and functionality Excel offers. For a detailed article on the difference between “Open in Excel” and “Export to Excel” and a step by step guide on how to use both see my article How to use Excel Add-In.
Keyboard Shortcuts
If you are someone that prefers to keyboard their way through an ERP these shortcut keys will help.
| Shortcut Action | Shortcut Key |
|---|---|
| Make column narrower | ← |
| Make column wider | → |
| Go to page content | Alt+M,M |
| Go to Related information pane | Alt+M,B |
| Go to the Action Pane | Alt+M,A |
| Go to the dashboard | Alt+Shift+Home |
| Go to the filter pane | Alt+M,F |
| Go to the navigation bar | Alt+M,N |
| Go to the navigation list | Alt+M,S |
| Grid_MoveToFirstMarkedRowShortCut | Alt+Shift+M,F |
| Grid_MoveToLastMarkedRowShortCut | Alt+Shift+M,L |
| Grid_MoveToNextMarkedRowShortCut | Alt+Shift+M,N |
| Grid_MoveToPreviousMarkedRowShortCut | Alt+Shift+M,P |
| Move to the first field on the page | Ctrl+Shift+F |
| Move to the first record | Ctrl+Home |
| Move to the last record | Ctrl+End |
| Move to the previous record | Ctrl+↑ |
| Navigates to header of the current column | Alt+Shift+H |
| Open advanced filtering and sorting options | Ctrl+Shift+F3 |
| Open grid filtering for the current column | Ctrl+G |
| Open message center | Ctrl+Shift+F7 |
| Open the Task recorder pane | Alt+R,O |
| Open the trace parser | Alt+Shift+T |
| Search for a page | Alt+G |
| Search for an action | Alt+Q |
| Switch to details view | Ctrl+Shift+D |
| Switch to header view | Ctrl+Shift+H |
| Switch to lines view | Ctrl+Shift+L |
| Create a new record | Alt+N |
| Delete record | Alt+Delete |
| Save record | Alt+S |
| Close the page | Esc |
| Close the page and discard any unsaved changes | Alt+Shift+Q |
| Save changes and close the page | Shift+Esc |
| Add the next row to the selected set | Shift+↓ |
| Attach a document | Ctrl+Shift+A |
| Change company | Ctrl+Shift+O |
| Export to Excel | Ctrl+Shift+E |
| Go to the next page of data | PageDown |
| Move to the next row | ↓ |
| Move to the next row without selecting | Ctrl+↓ |
| Open navigation pane | Alt+F1 |
| Personalize this page | Ctrl+Shift+P |
| Refresh data | Shift+F5 |
| Revert any changes | Ctrl+Shift+F5 |
| Select all rows | Ctrl+Shift+M |
| Select the current row | Ctrl+Space |
| Switch to grid view | Ctrl+Shift+G |
| Switch to view mode | F2 |
Document Handling
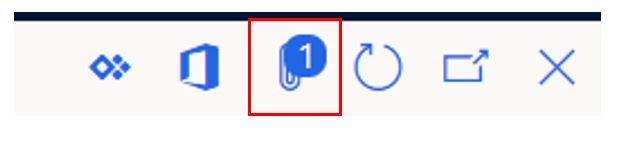
Document handling is a way to attach notes, files, links, and images to records. Anywhere you see the attachment icon, which looks like a paper clip, you can upload or add an attachment.
If you click on the paper clip you will be taken to the notes form where you can click the “New” button to add a new attachment. Select the attachment type you would like to attach and then complete the attachment. In the example below I have attached an internal note for this vendor.

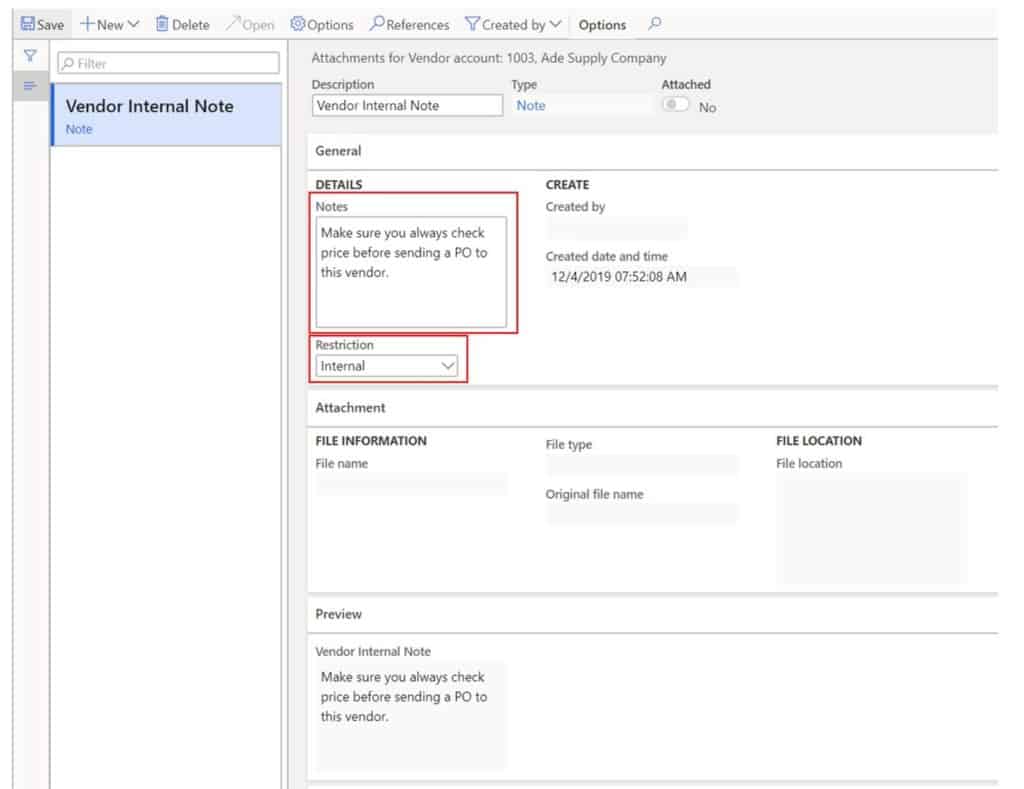
After I attach a note I will now see that there is a “1” next to the paper clip indicating there is one attachment associated with the record. You are able to add as many attachments as required.
The internal and external field will control whether the note prints on specific documents depending on the record the note is attached to. For example, this note is set to “Internal” on a vendor so it would not be printed on a document that the vendor would ever see.
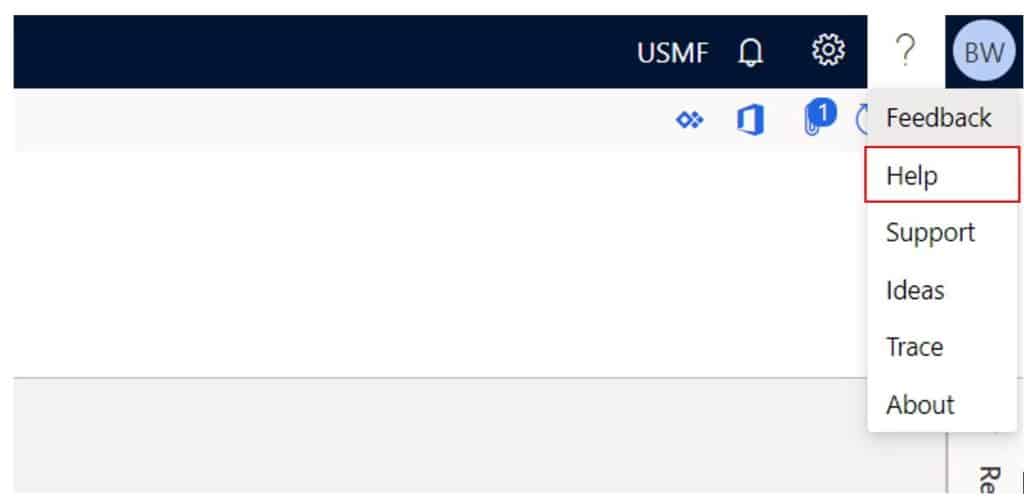
Help
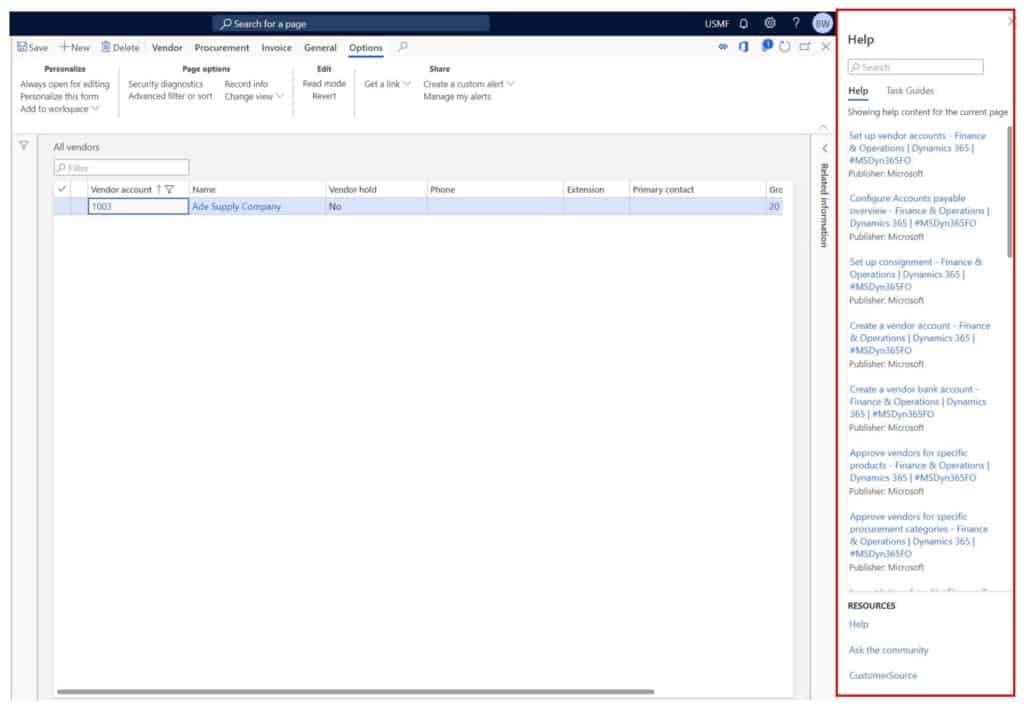
In the right corner there is a question mark icon that has a help option. If you click the option Microsoft will display Microsoft content that might be helpful given where you are in the application. For example, I am clicking on “Help” in the vendor list page, so the Help pane shows me Microsoft articles related to vendor setup.
Microsoft content has the most coverage but is often not complete or helpful at times so if you actually needed help setting up a vendor, I have written a complete step by step and field by field guide on that called How to Create a Vendor a Training Guide. However, if you can’t find what you are looking for in a blog, Microsoft will often have something on the topic.
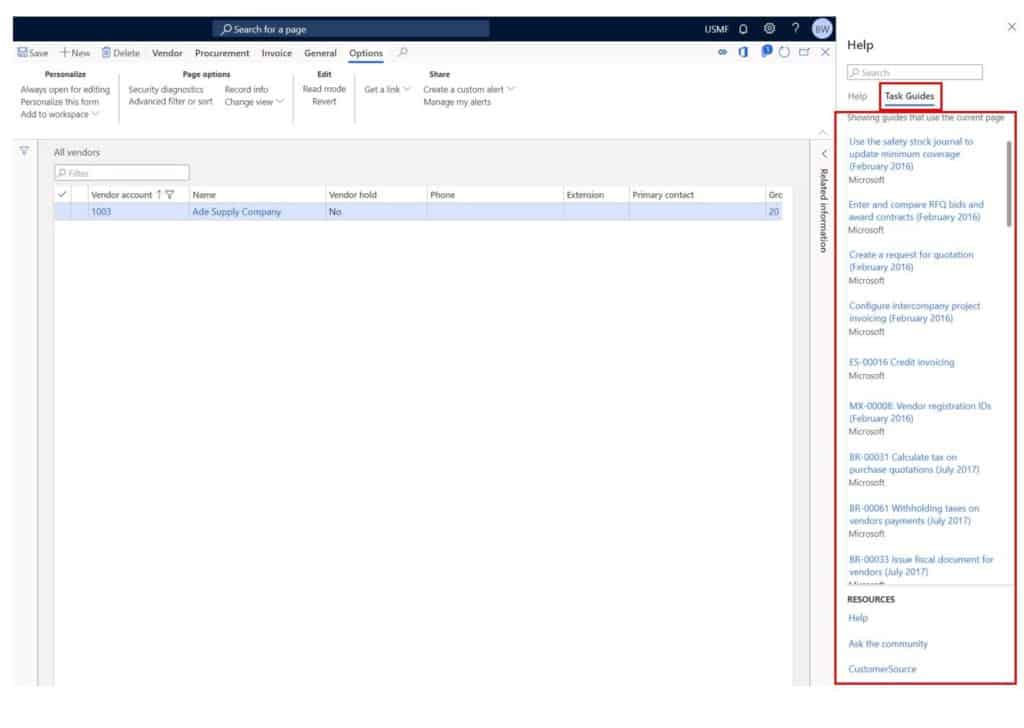
There is another tab on the help pane called “Task guides”. This will display any task recorder guides that Microsoft has created or that your company has posted to your LCS project. Again, it is context based so it will try to pull in only related task guides to where you are in the application.
Takeaways
Dynamics 365 Finance and Operations is a powerful ERP and although it is intimidating at first, once you get the basics of navigation down and start to understand the layout and structure of the data and forms, things start to become more familiar and comfortable.
I hope this has give you a nice preview and primer on the basics and navigation of the application and feel more confident to jump in and explore.